Import MirrorMaker 2
MirrorMaker 2 jobs run as a set of connectors on a Kafka Connect cluster. The import flow discovers these connectors, groups them by prefix, validates completeness, and brings the job under suite management.
Import Workflow
Section titled “Import Workflow”-
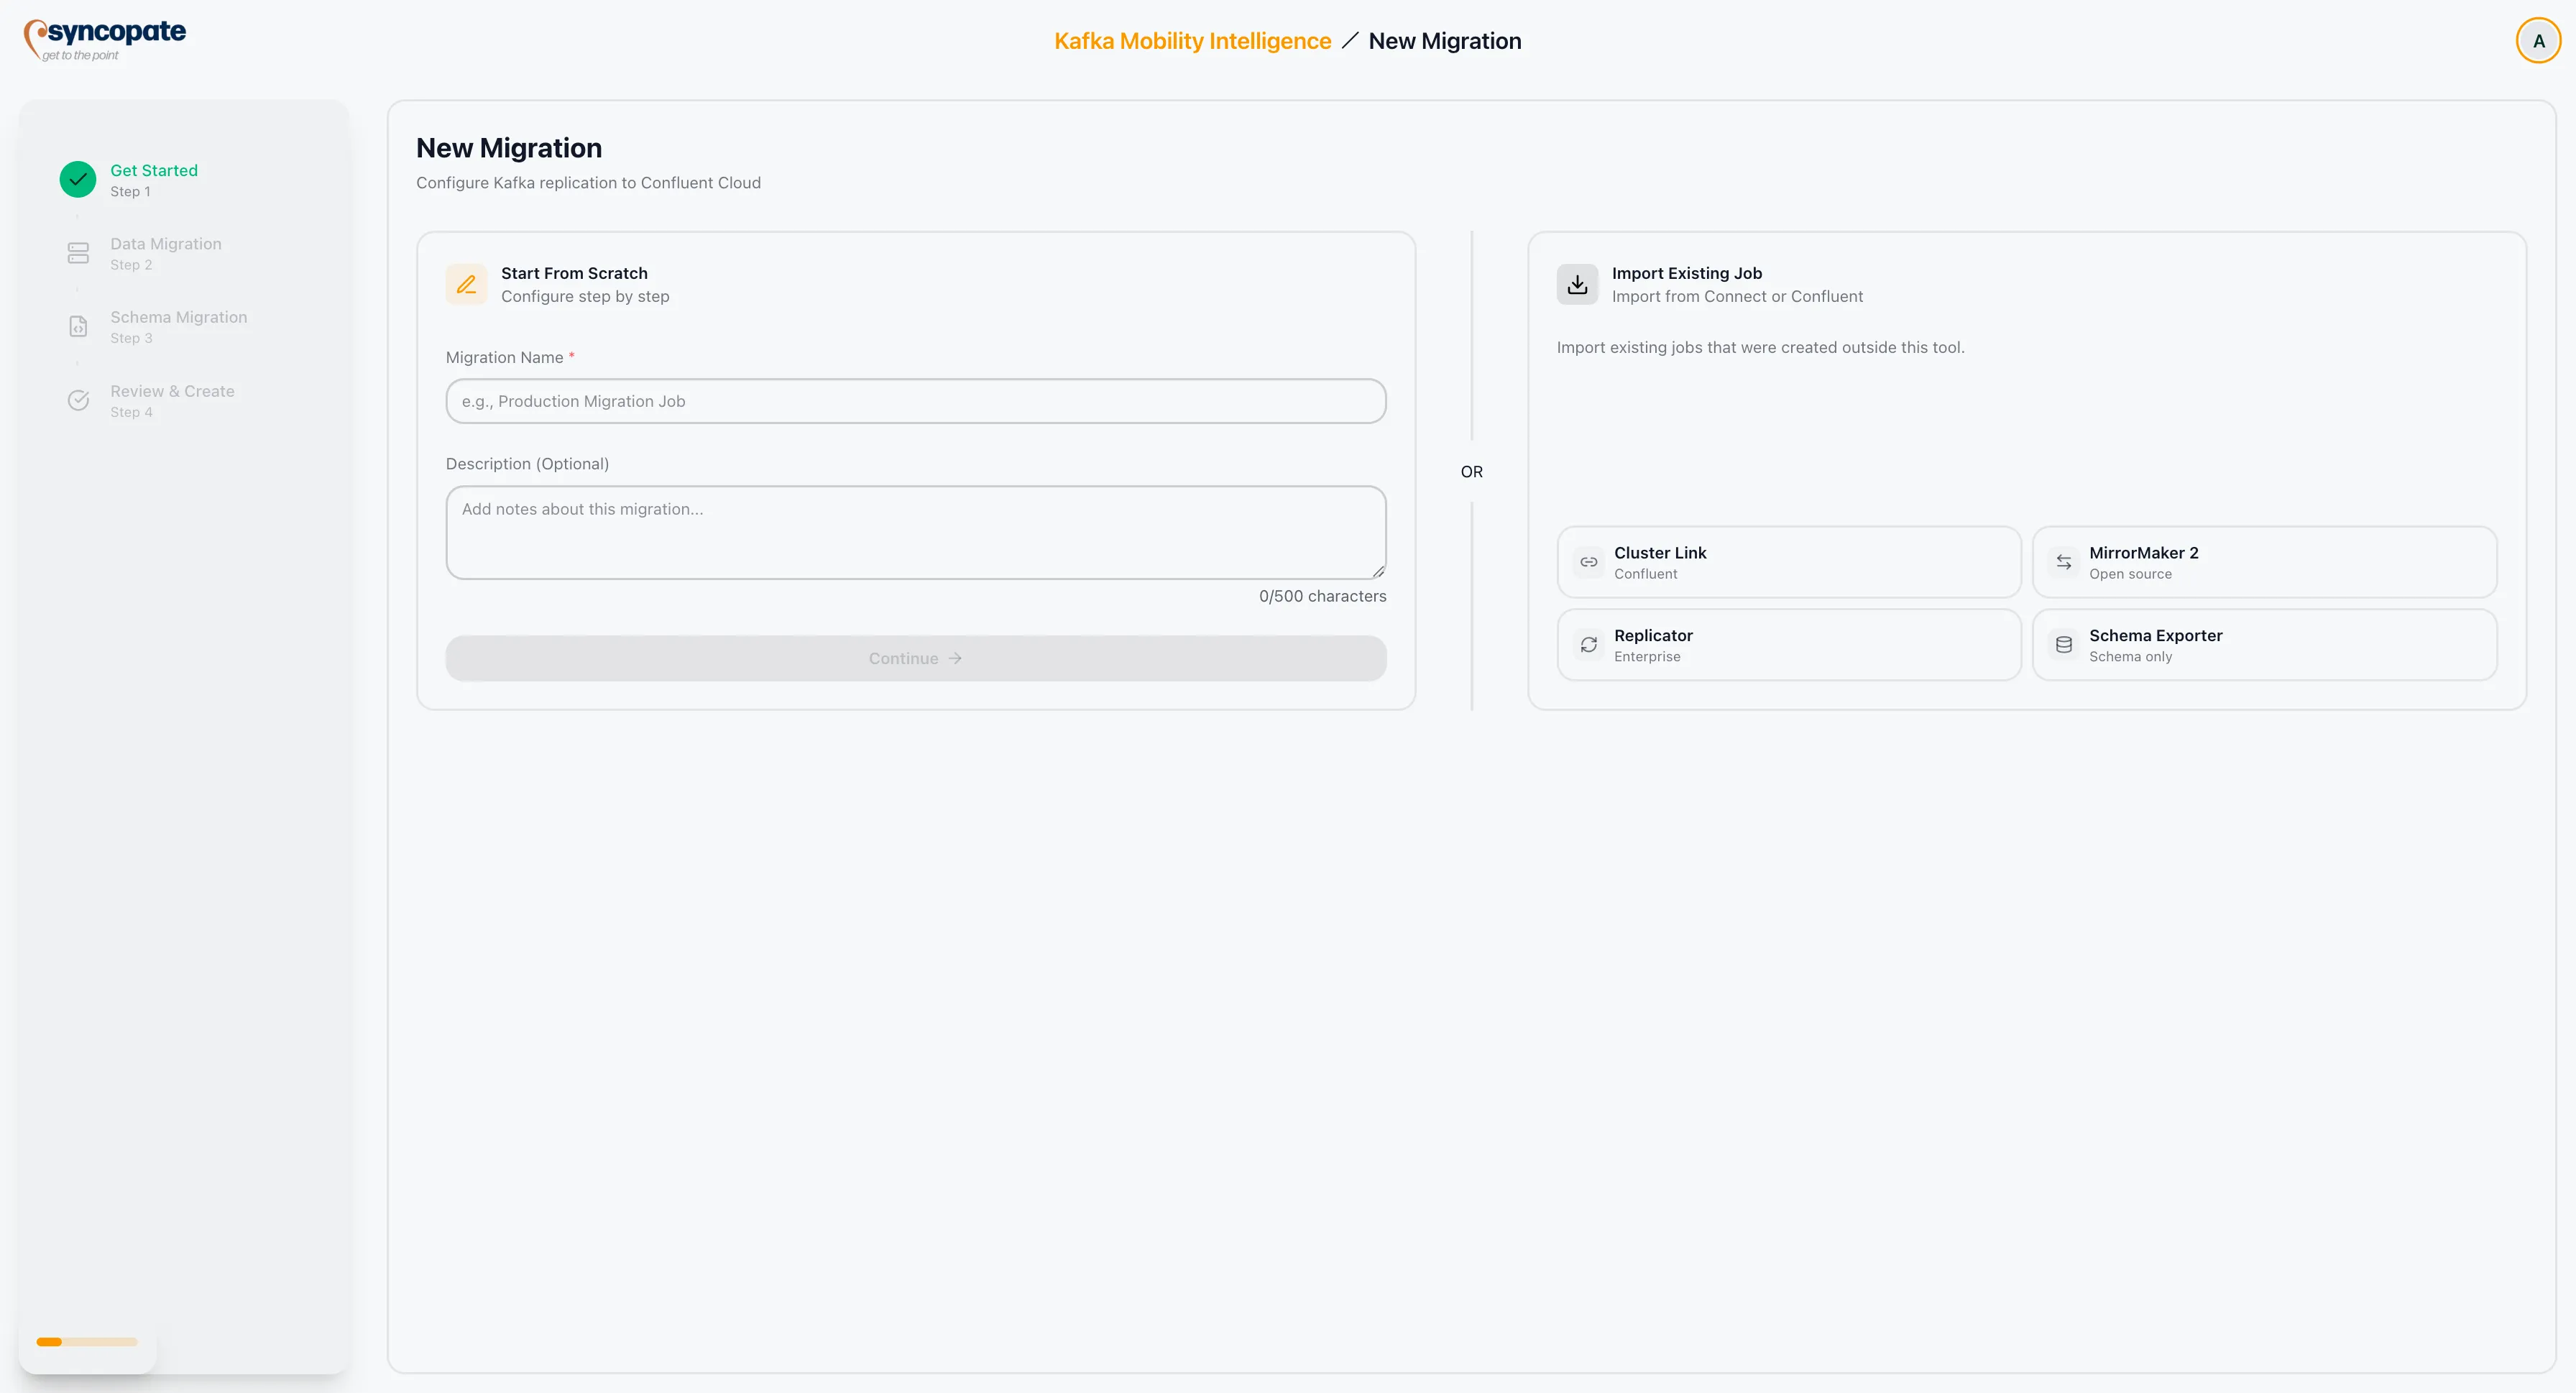
Log in to the Kafka Mobility Intelligence suite and click Getting Started on the Dashboard.
-
Select Import Existing Job from the available options.
-
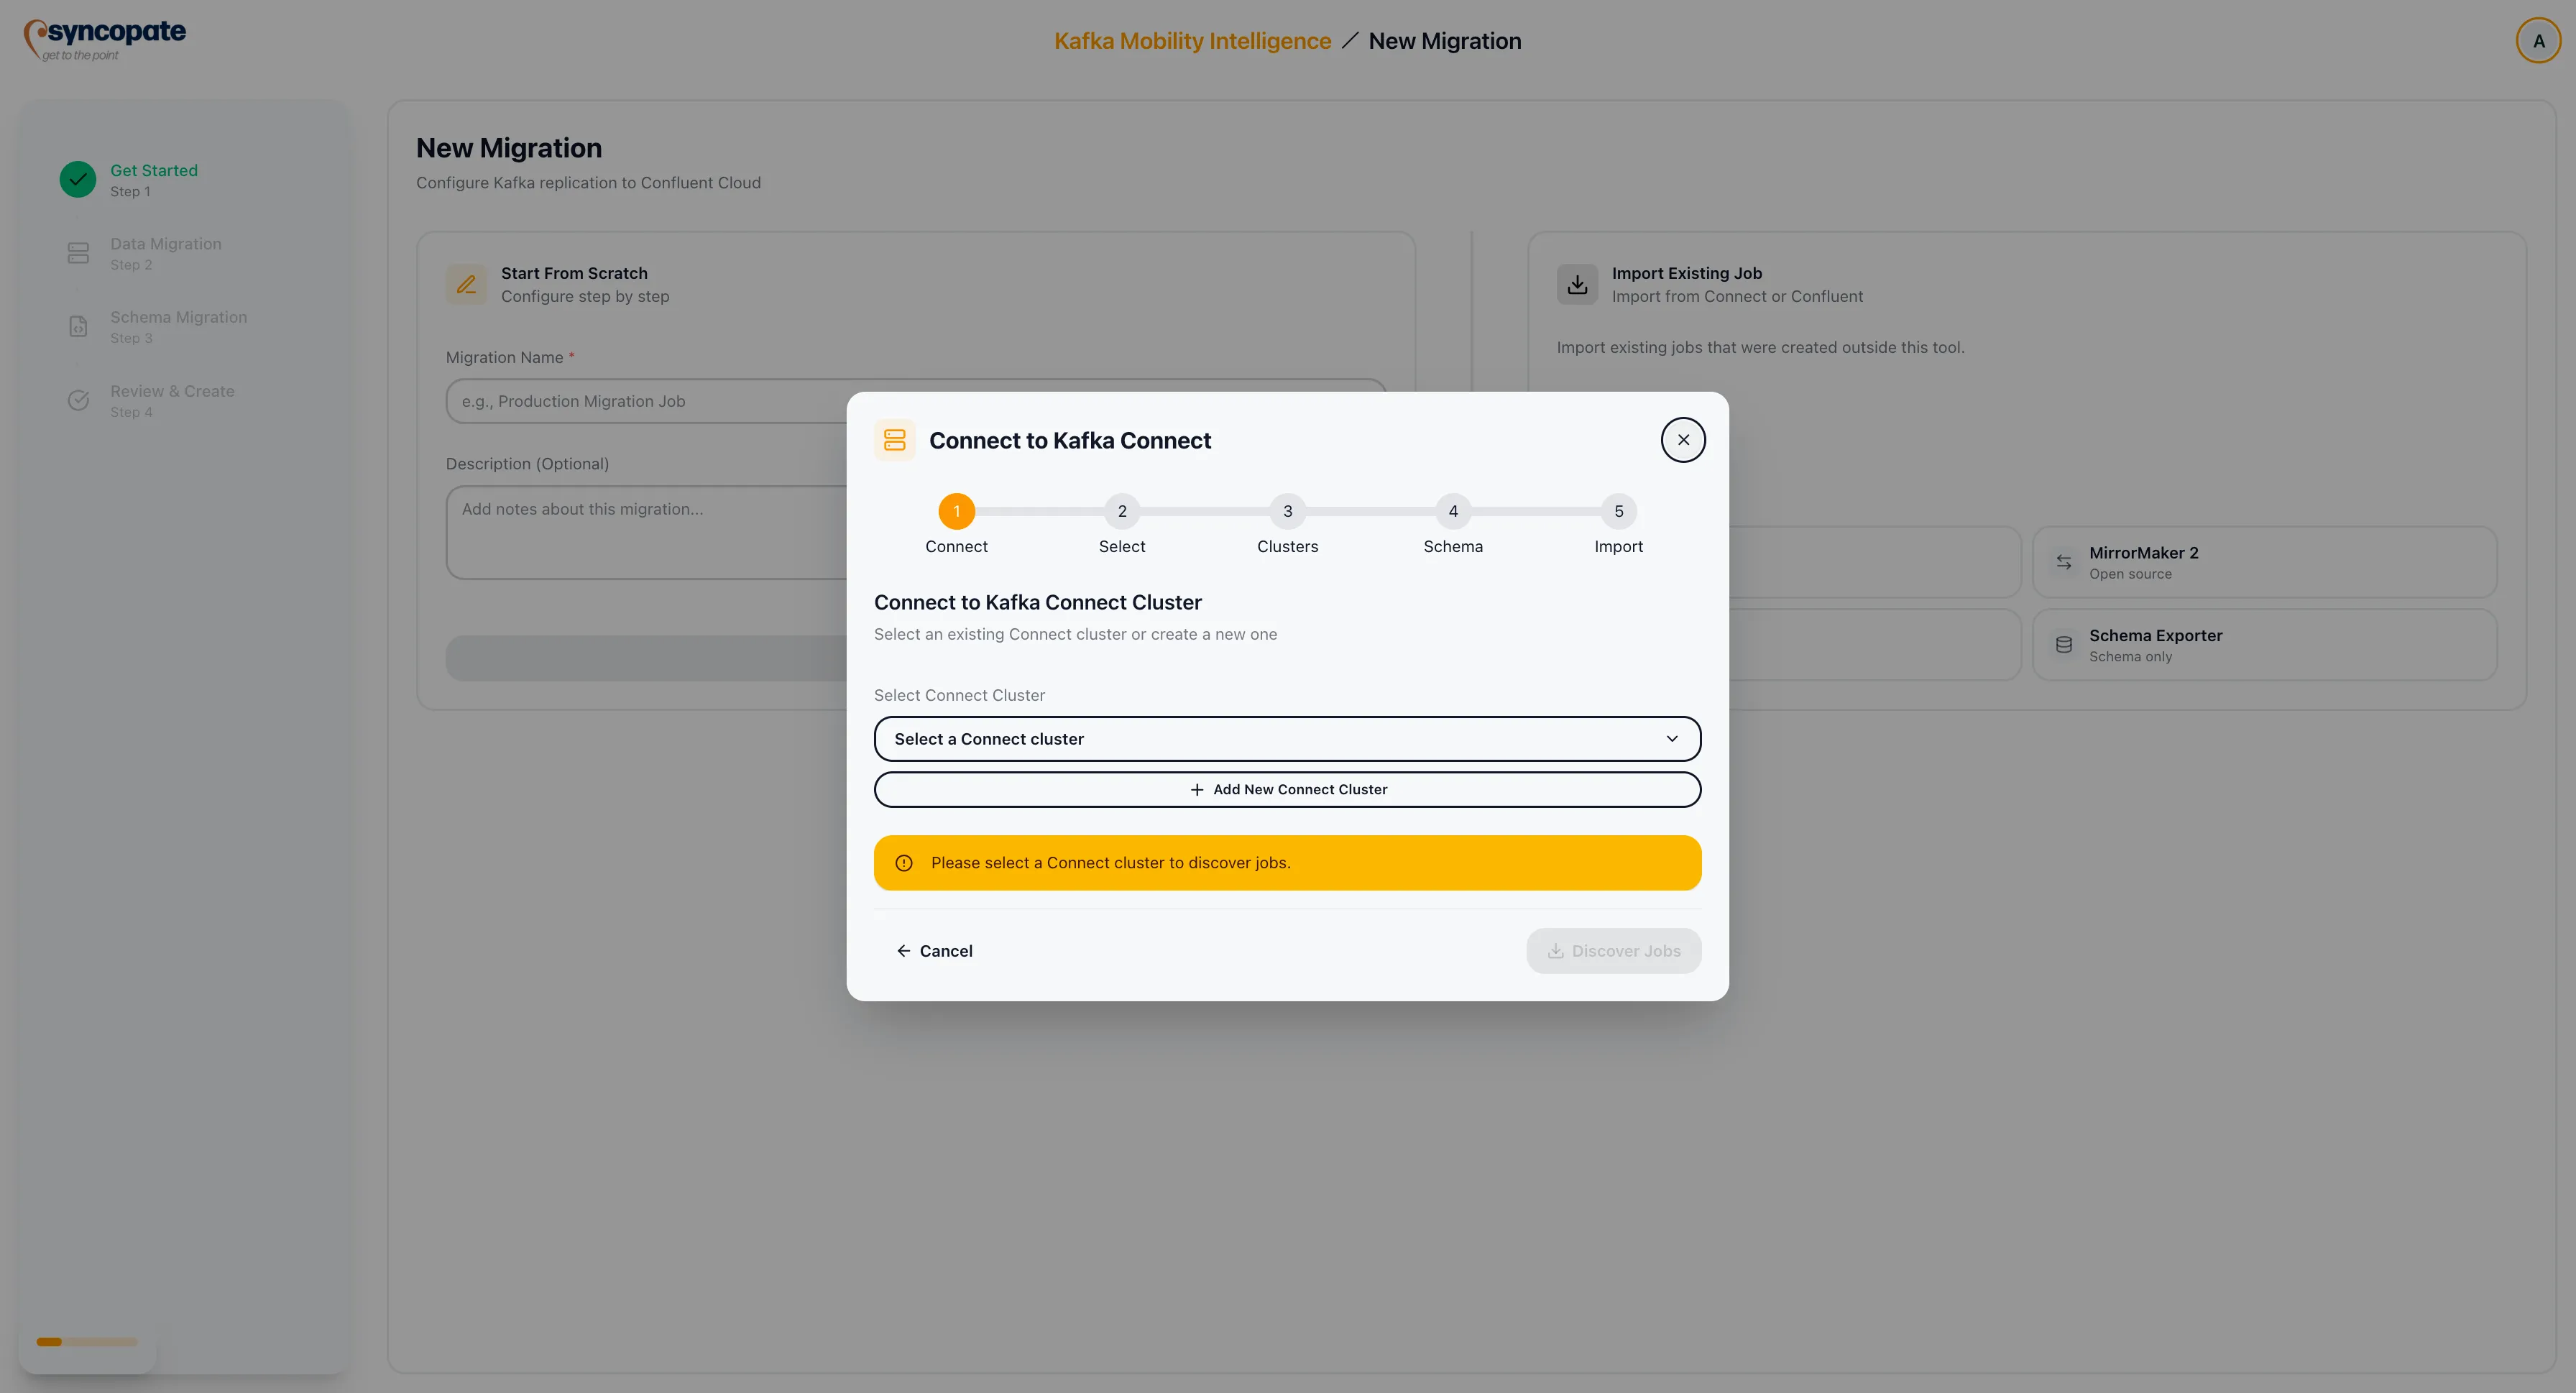
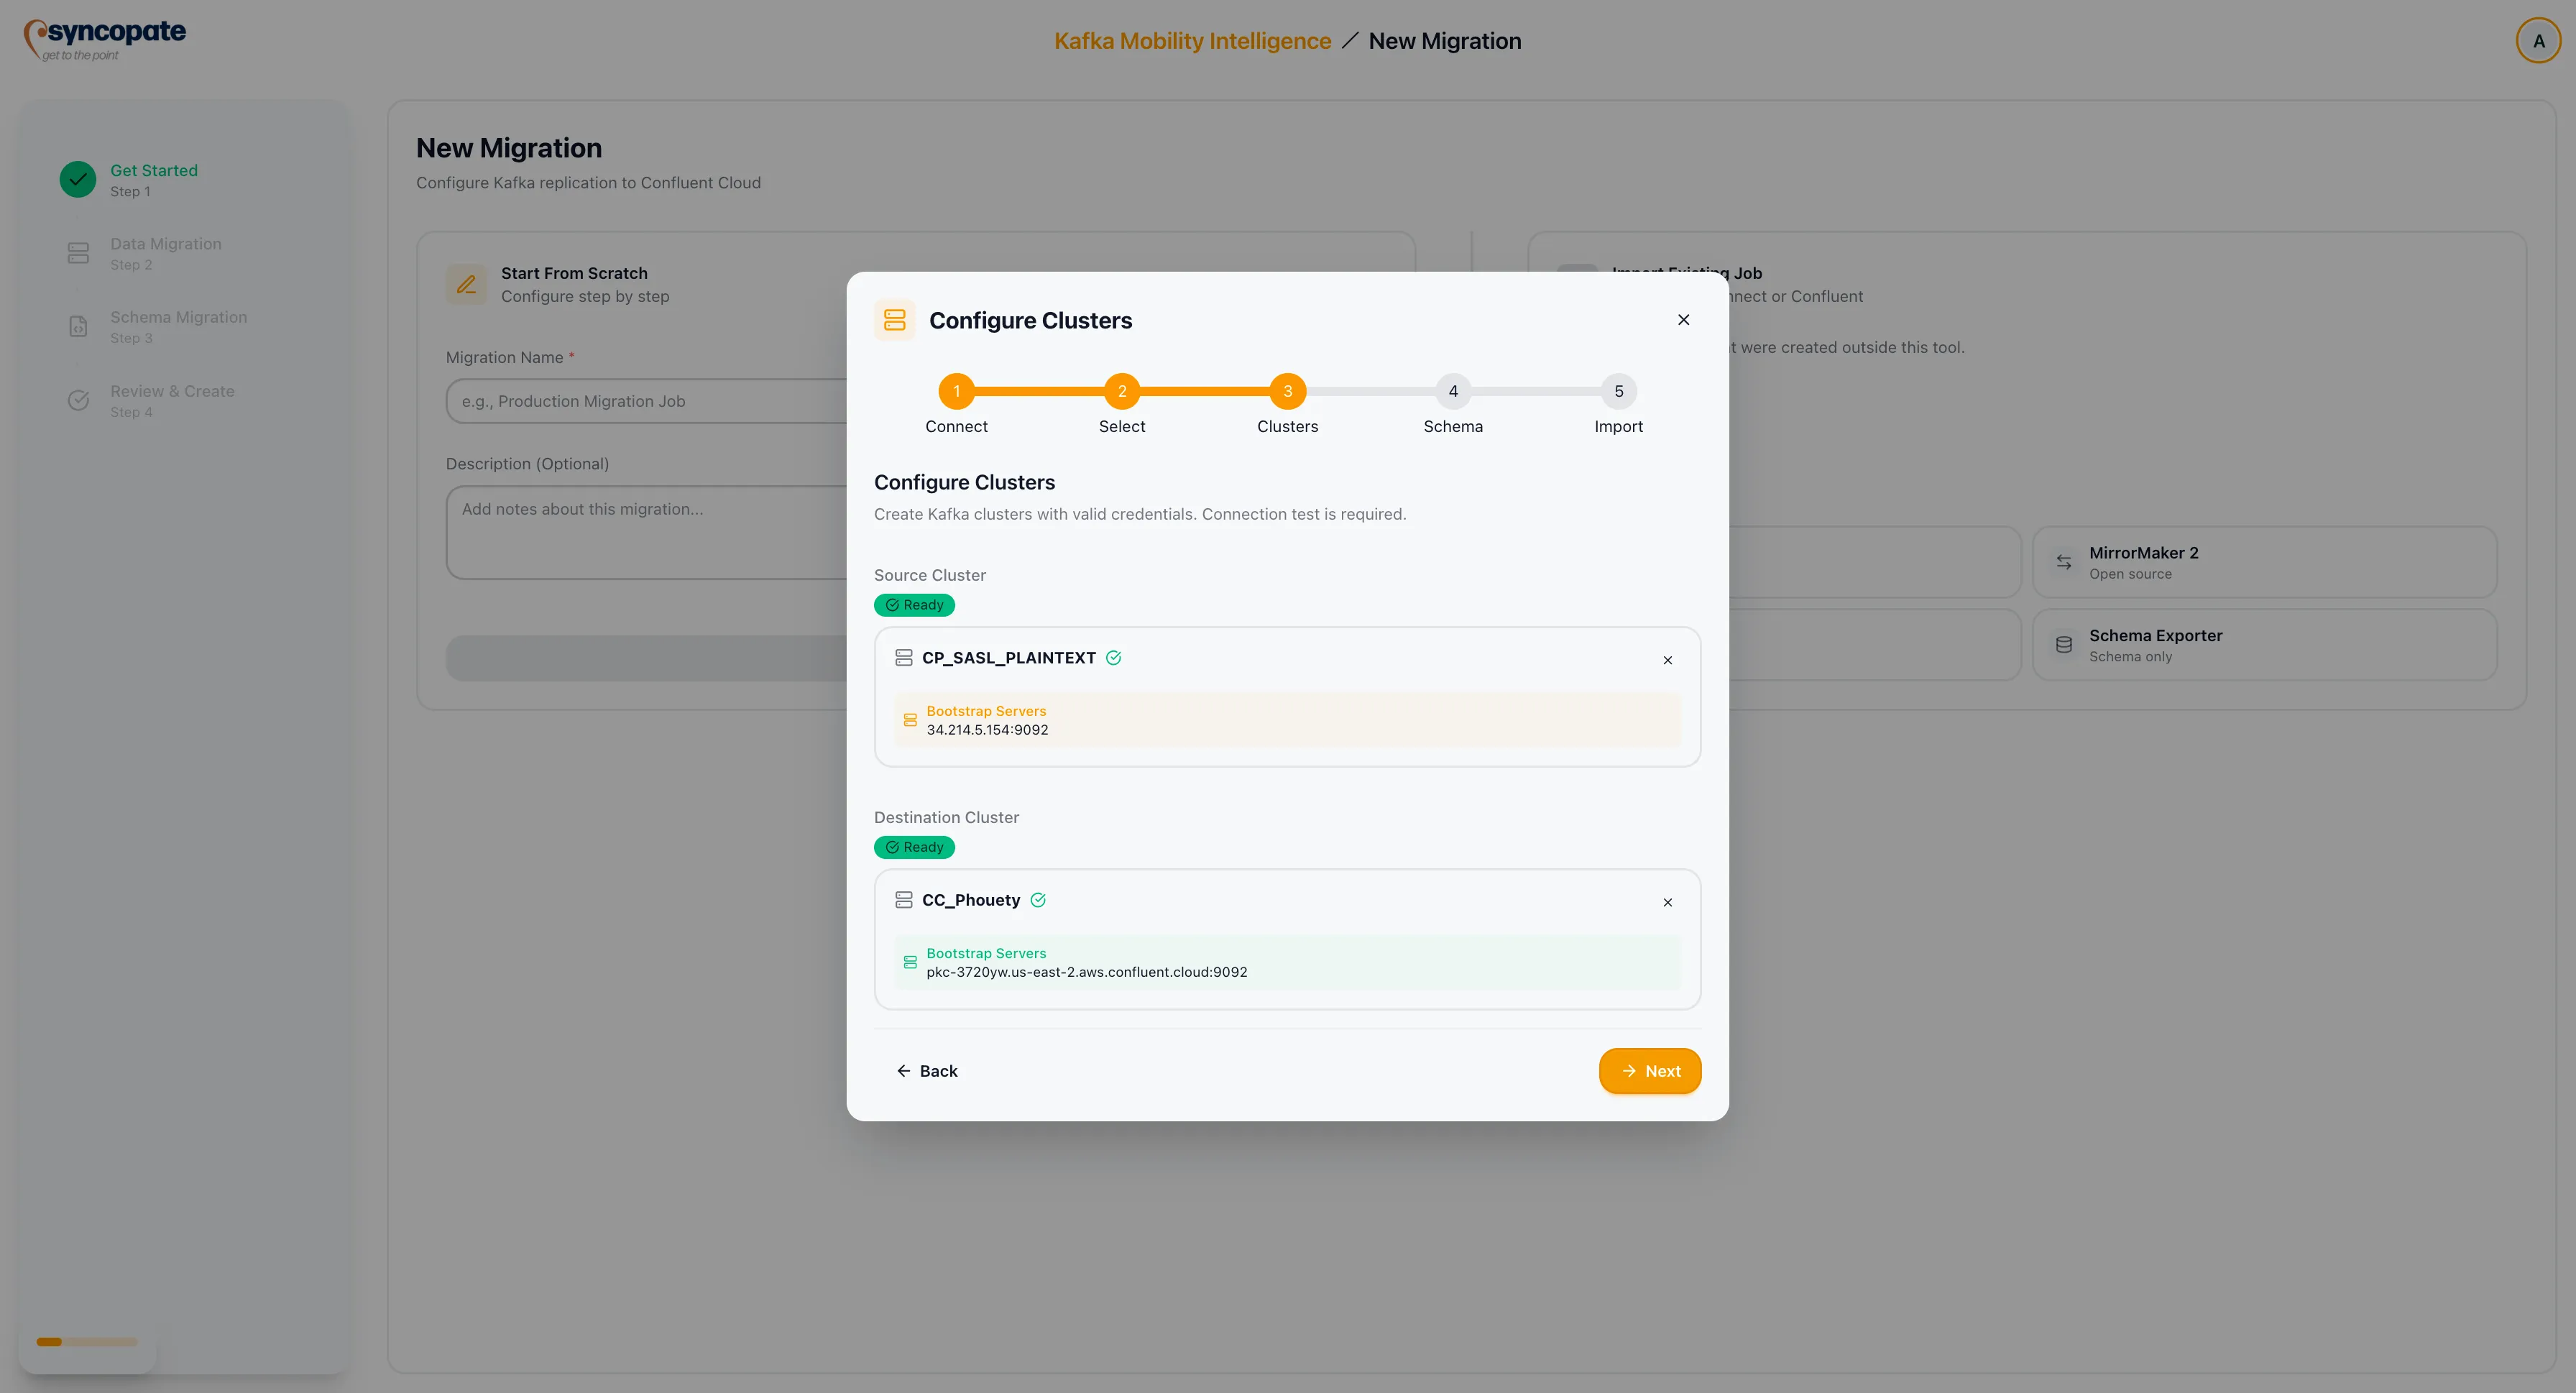
Select a Kafka Connect cluster from your registered clusters, or click Add New to register a new Connect cluster.
-
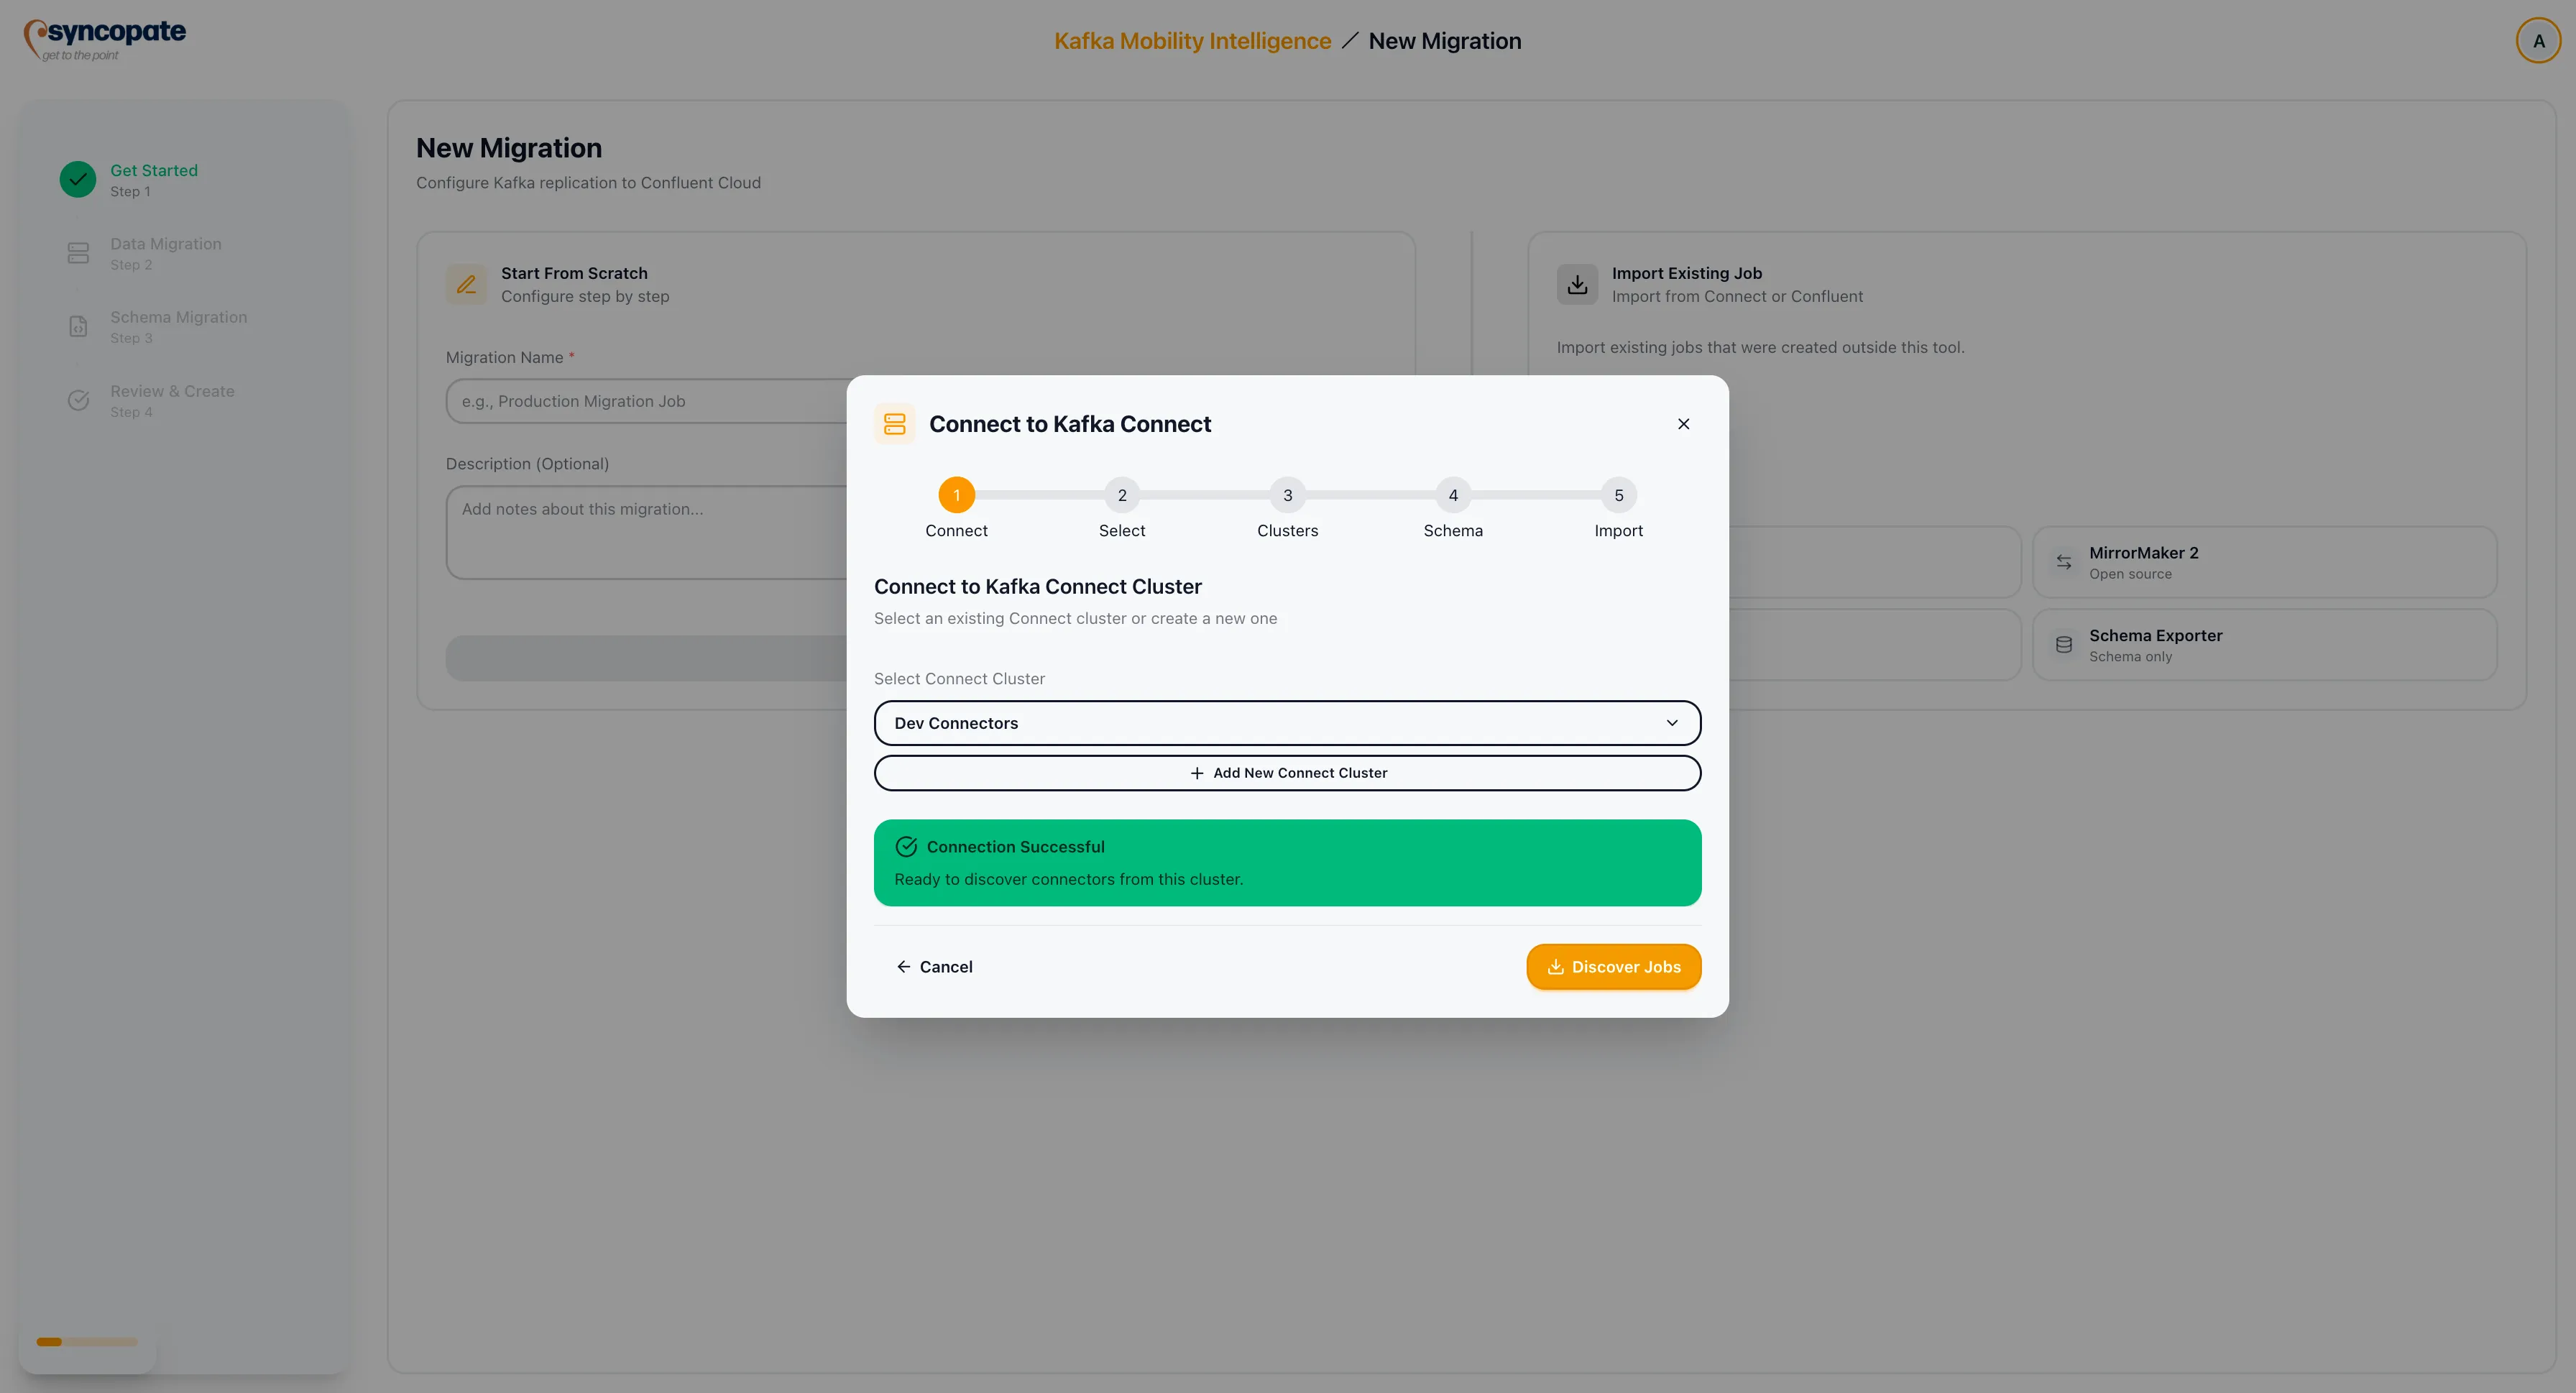
Verify the connection to the selected cluster. The suite confirms connectivity before proceeding.
-
Click Discover Jobs to scan the Connect cluster for active MirrorMaker 2 connectors.
-
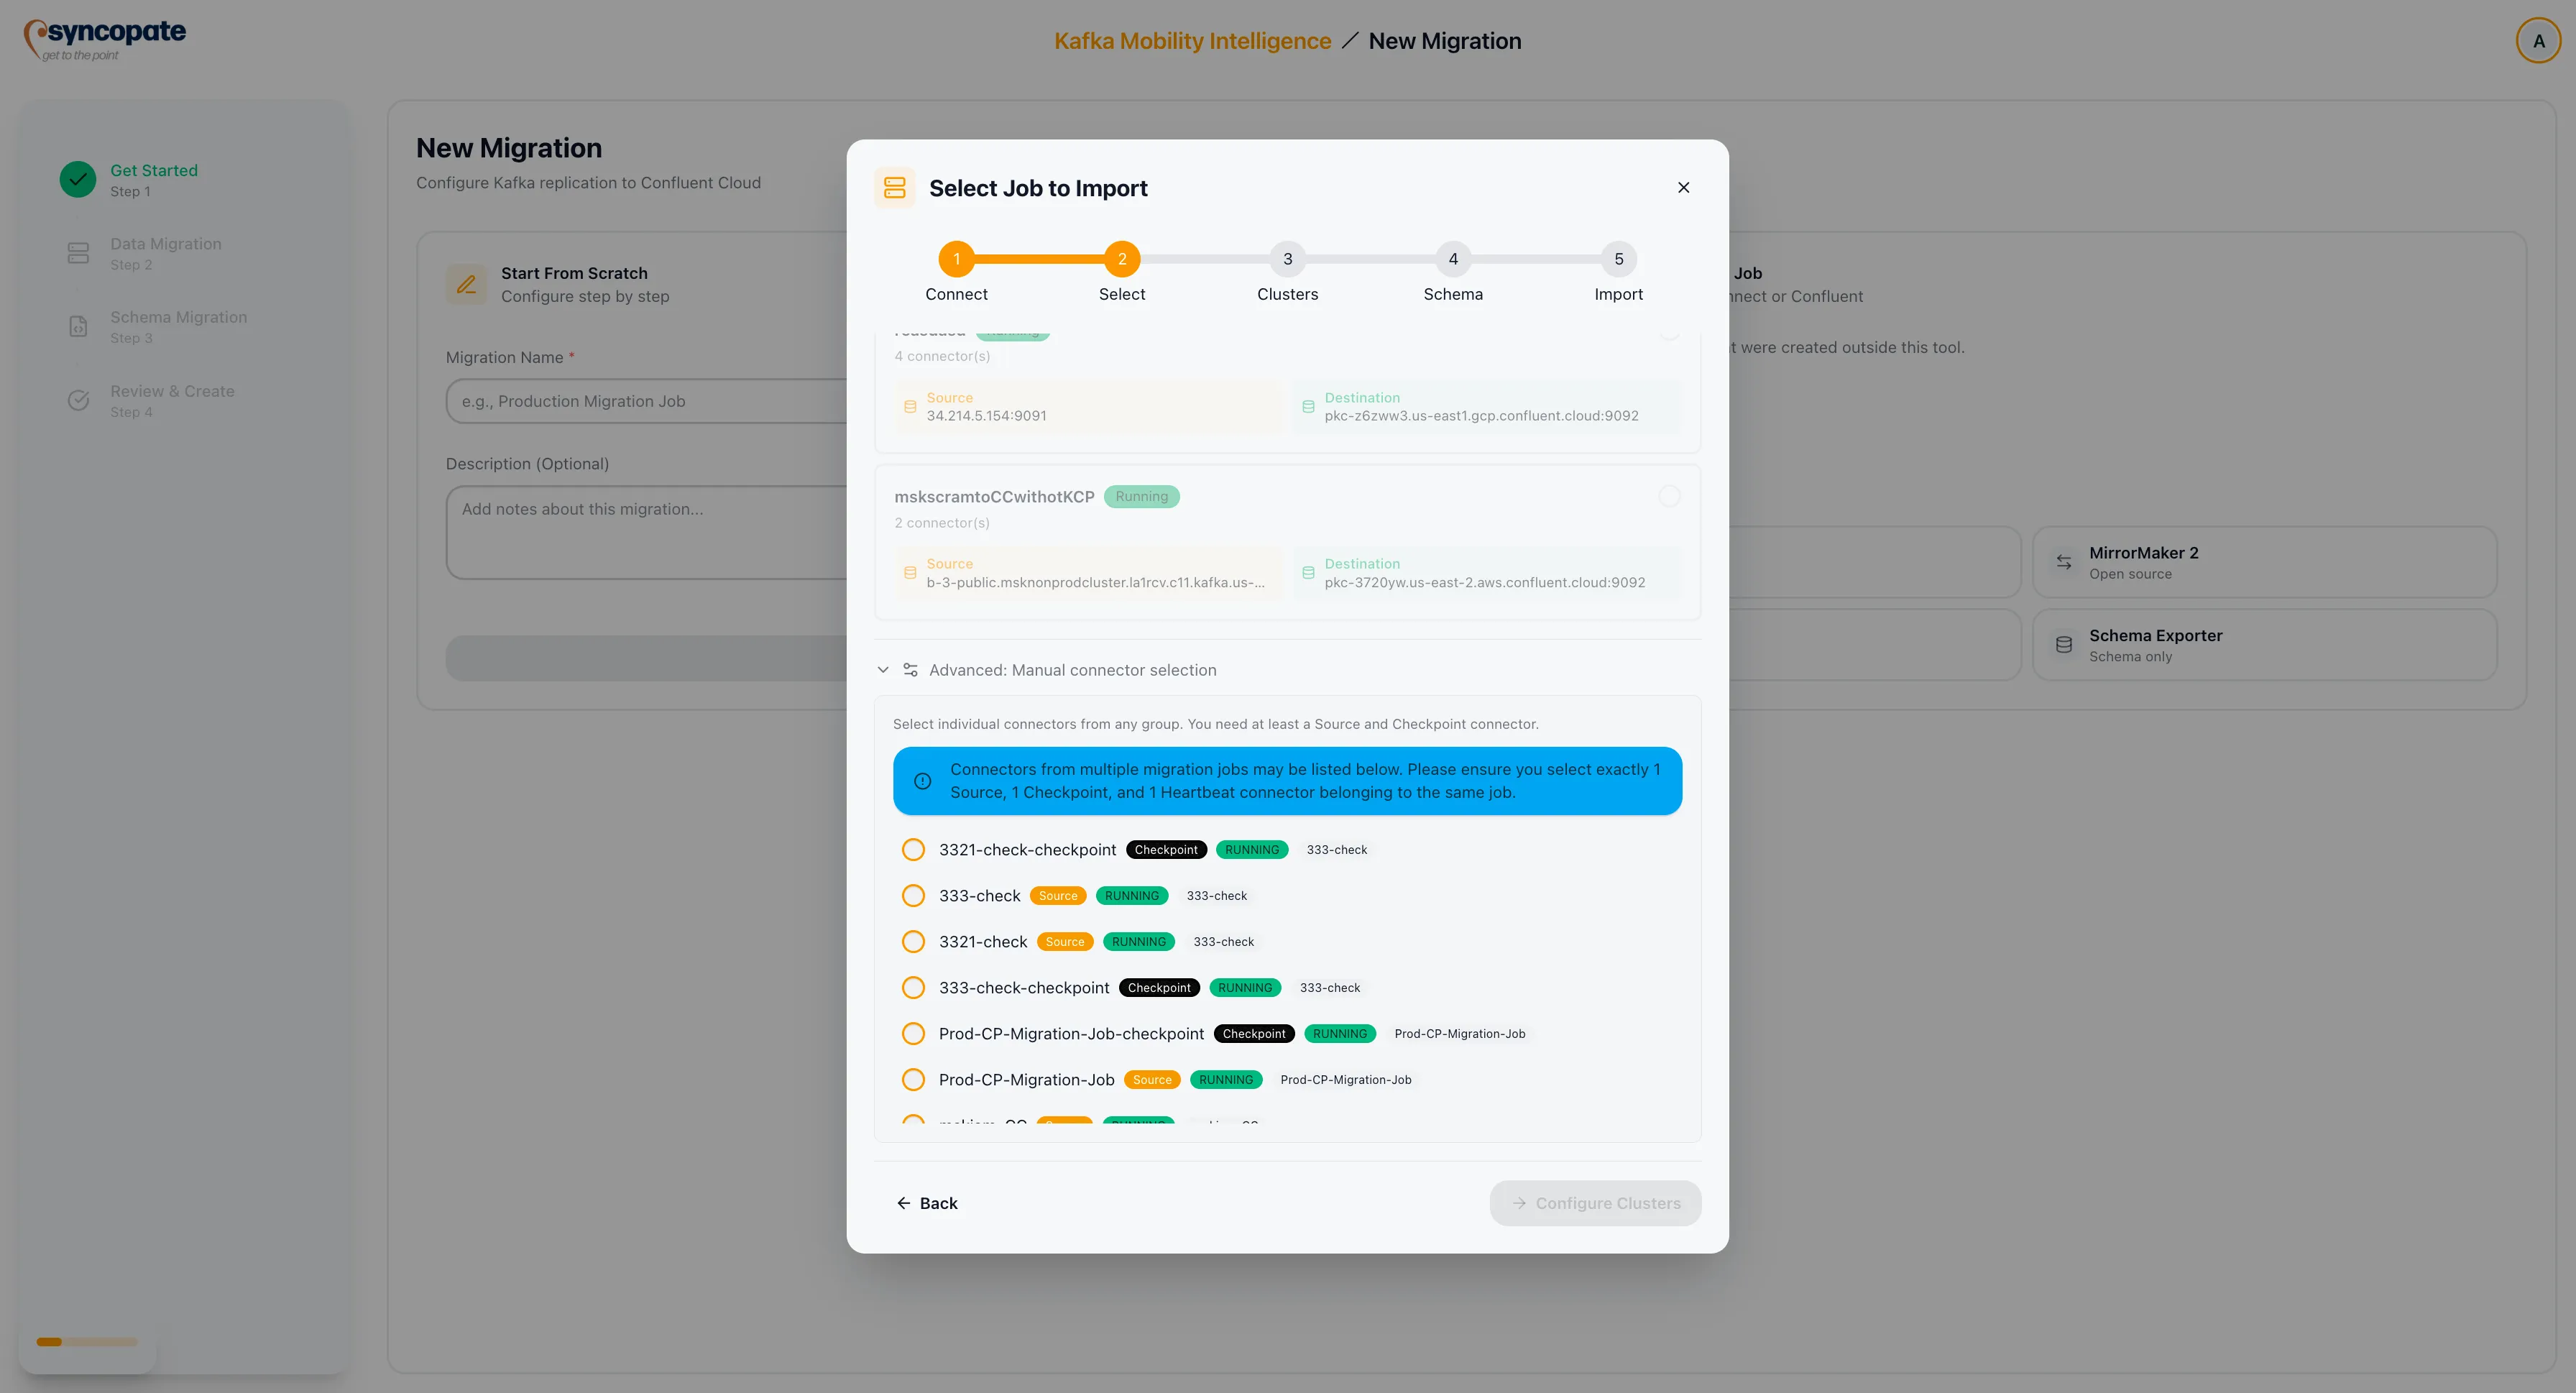
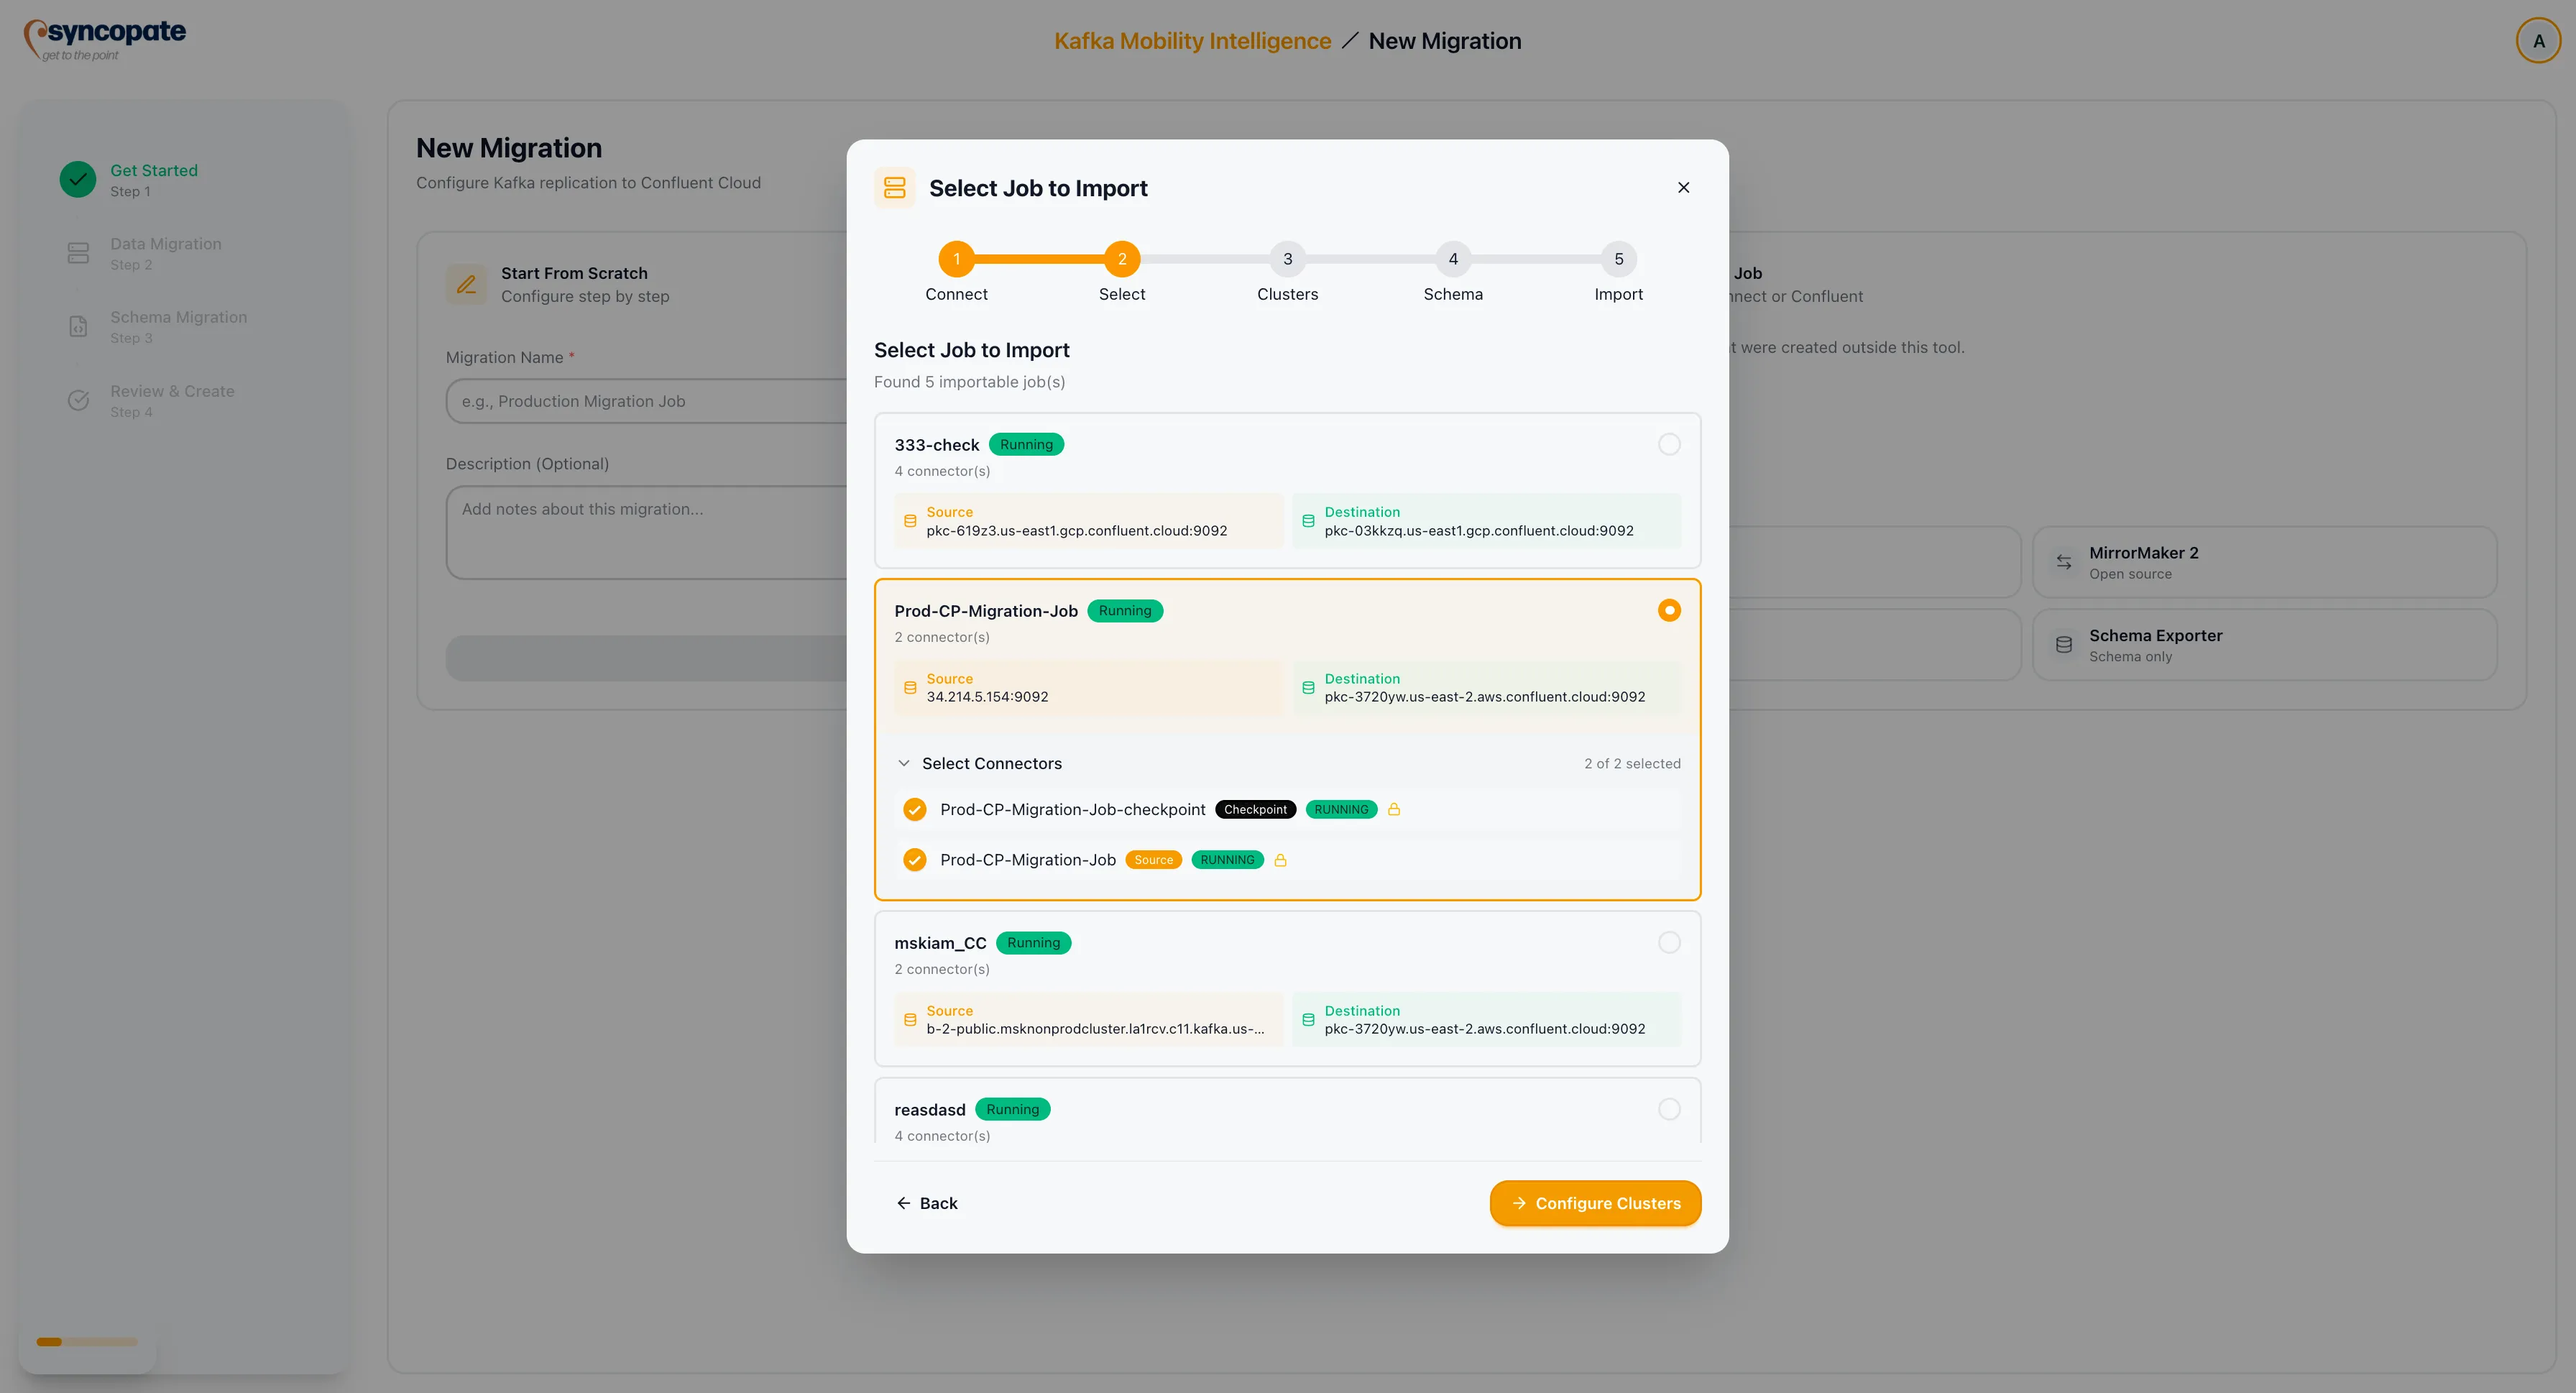
The suite lists all discovered connectors and auto-groups them by prefix. Each group displays its connector types.
-
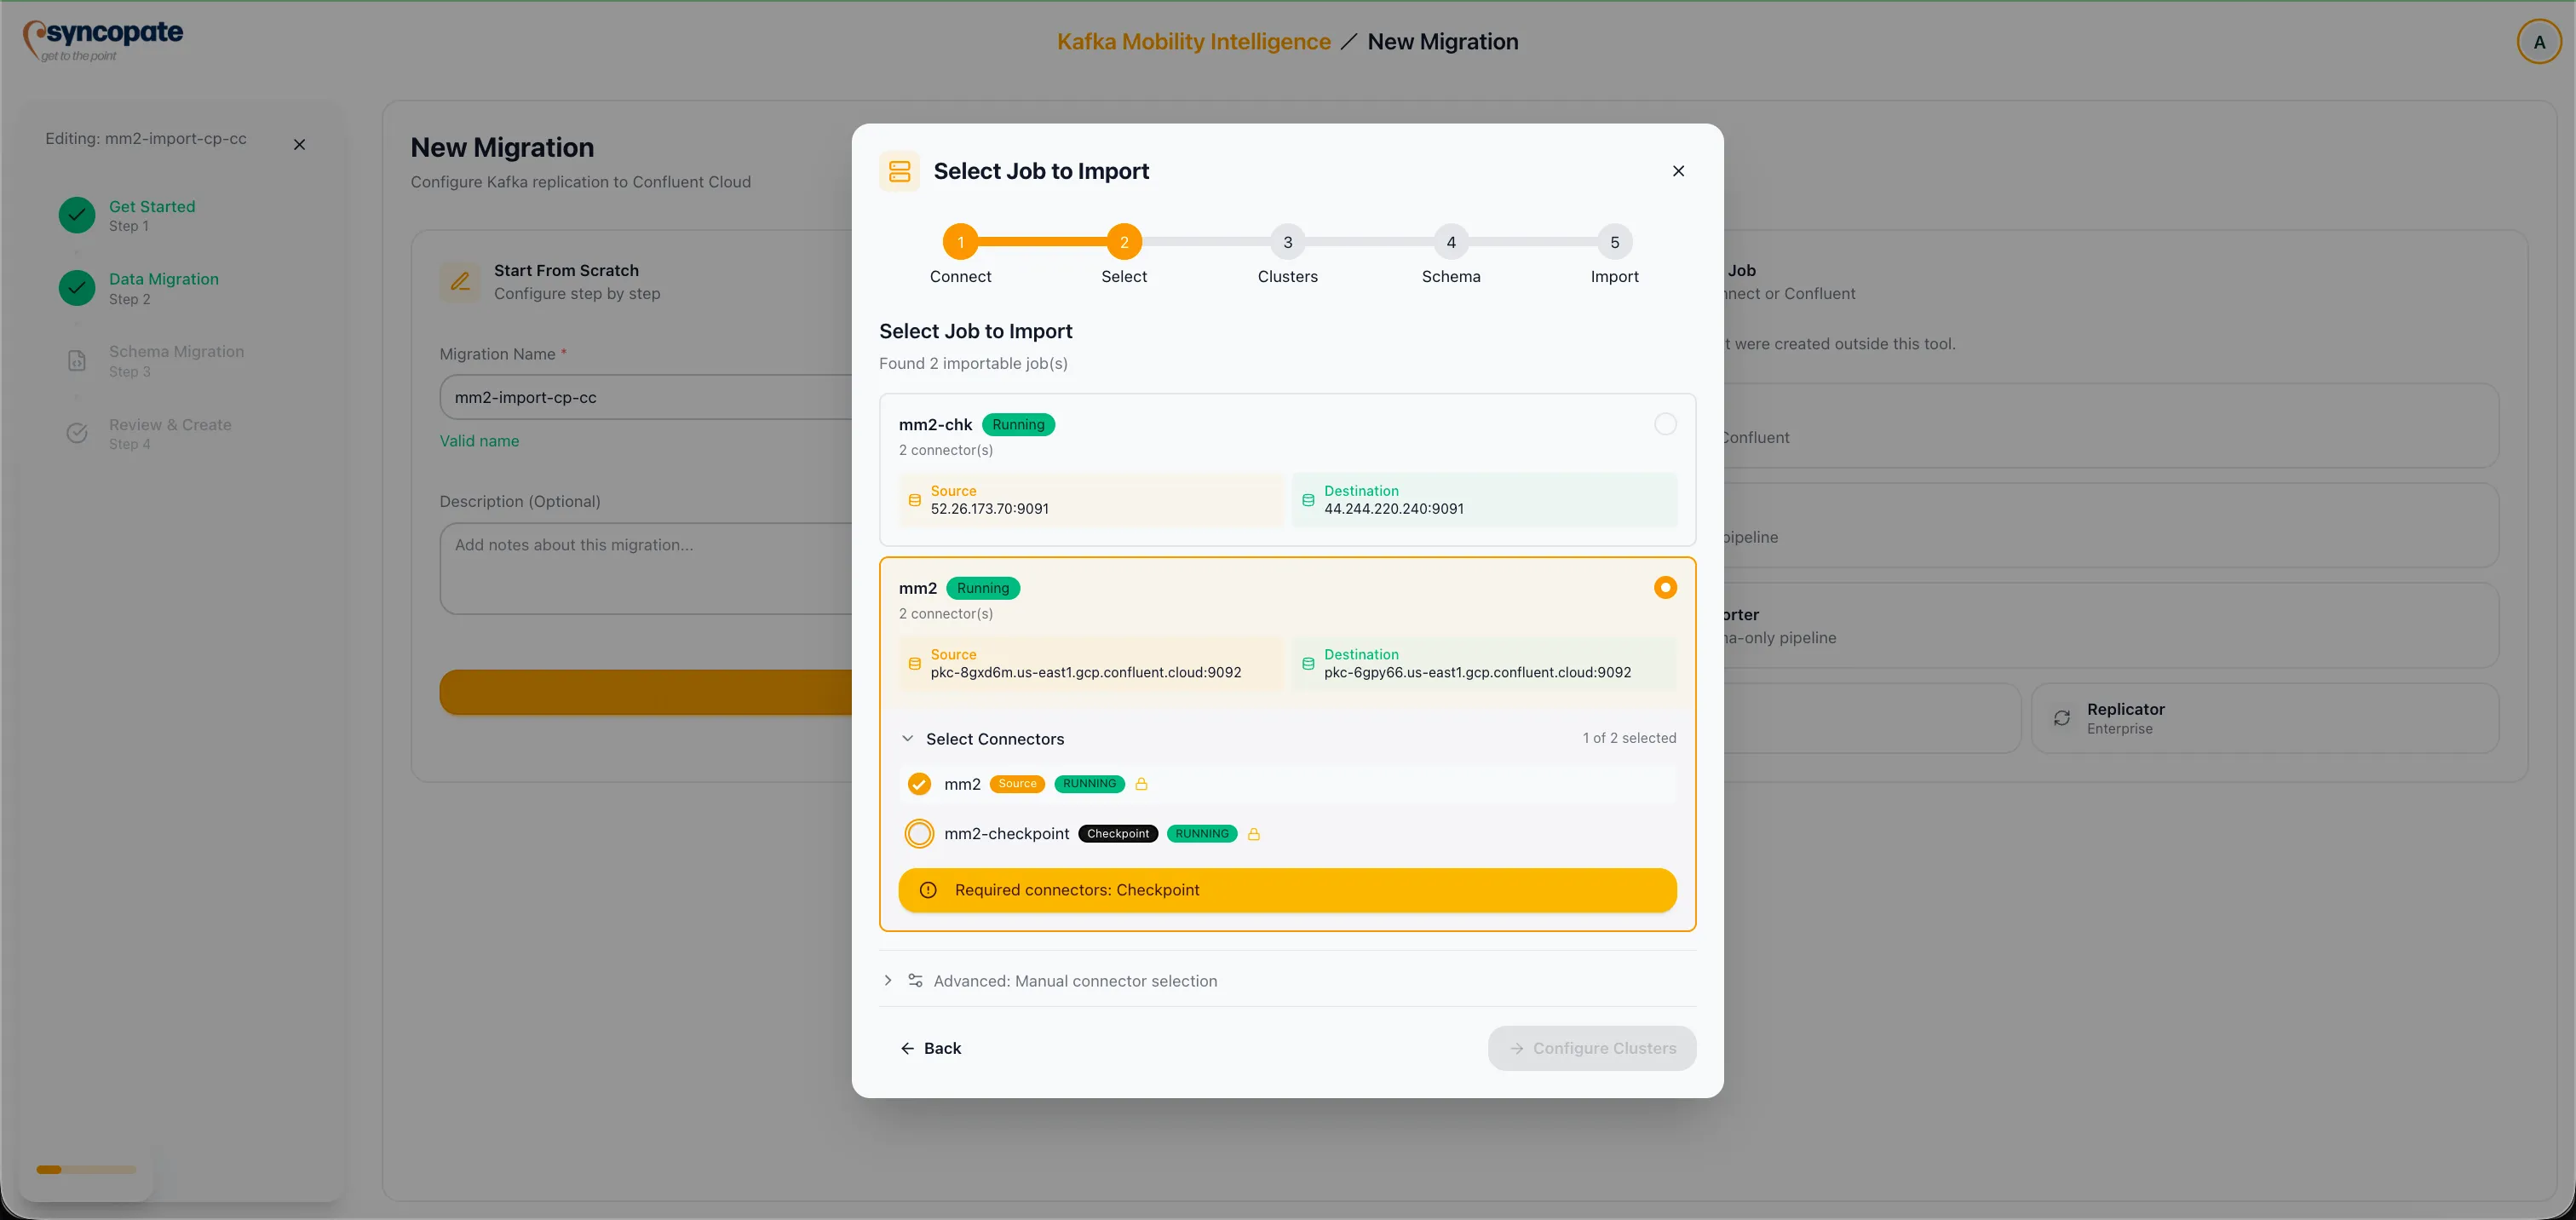
The system validates each group for the required connector set:
Required Connector Purpose MirrorSourceConnector Replicates topic data from source to destination MirrorCheckpointConnector Syncs consumer group offsets between clusters MirrorHeartbeatConnector Emits heartbeat records for replication health monitoring A warning is displayed for any group that is missing one or more required connector types.
-
Groups that have already been imported display an “Already Imported” badge to prevent duplicate imports.
-
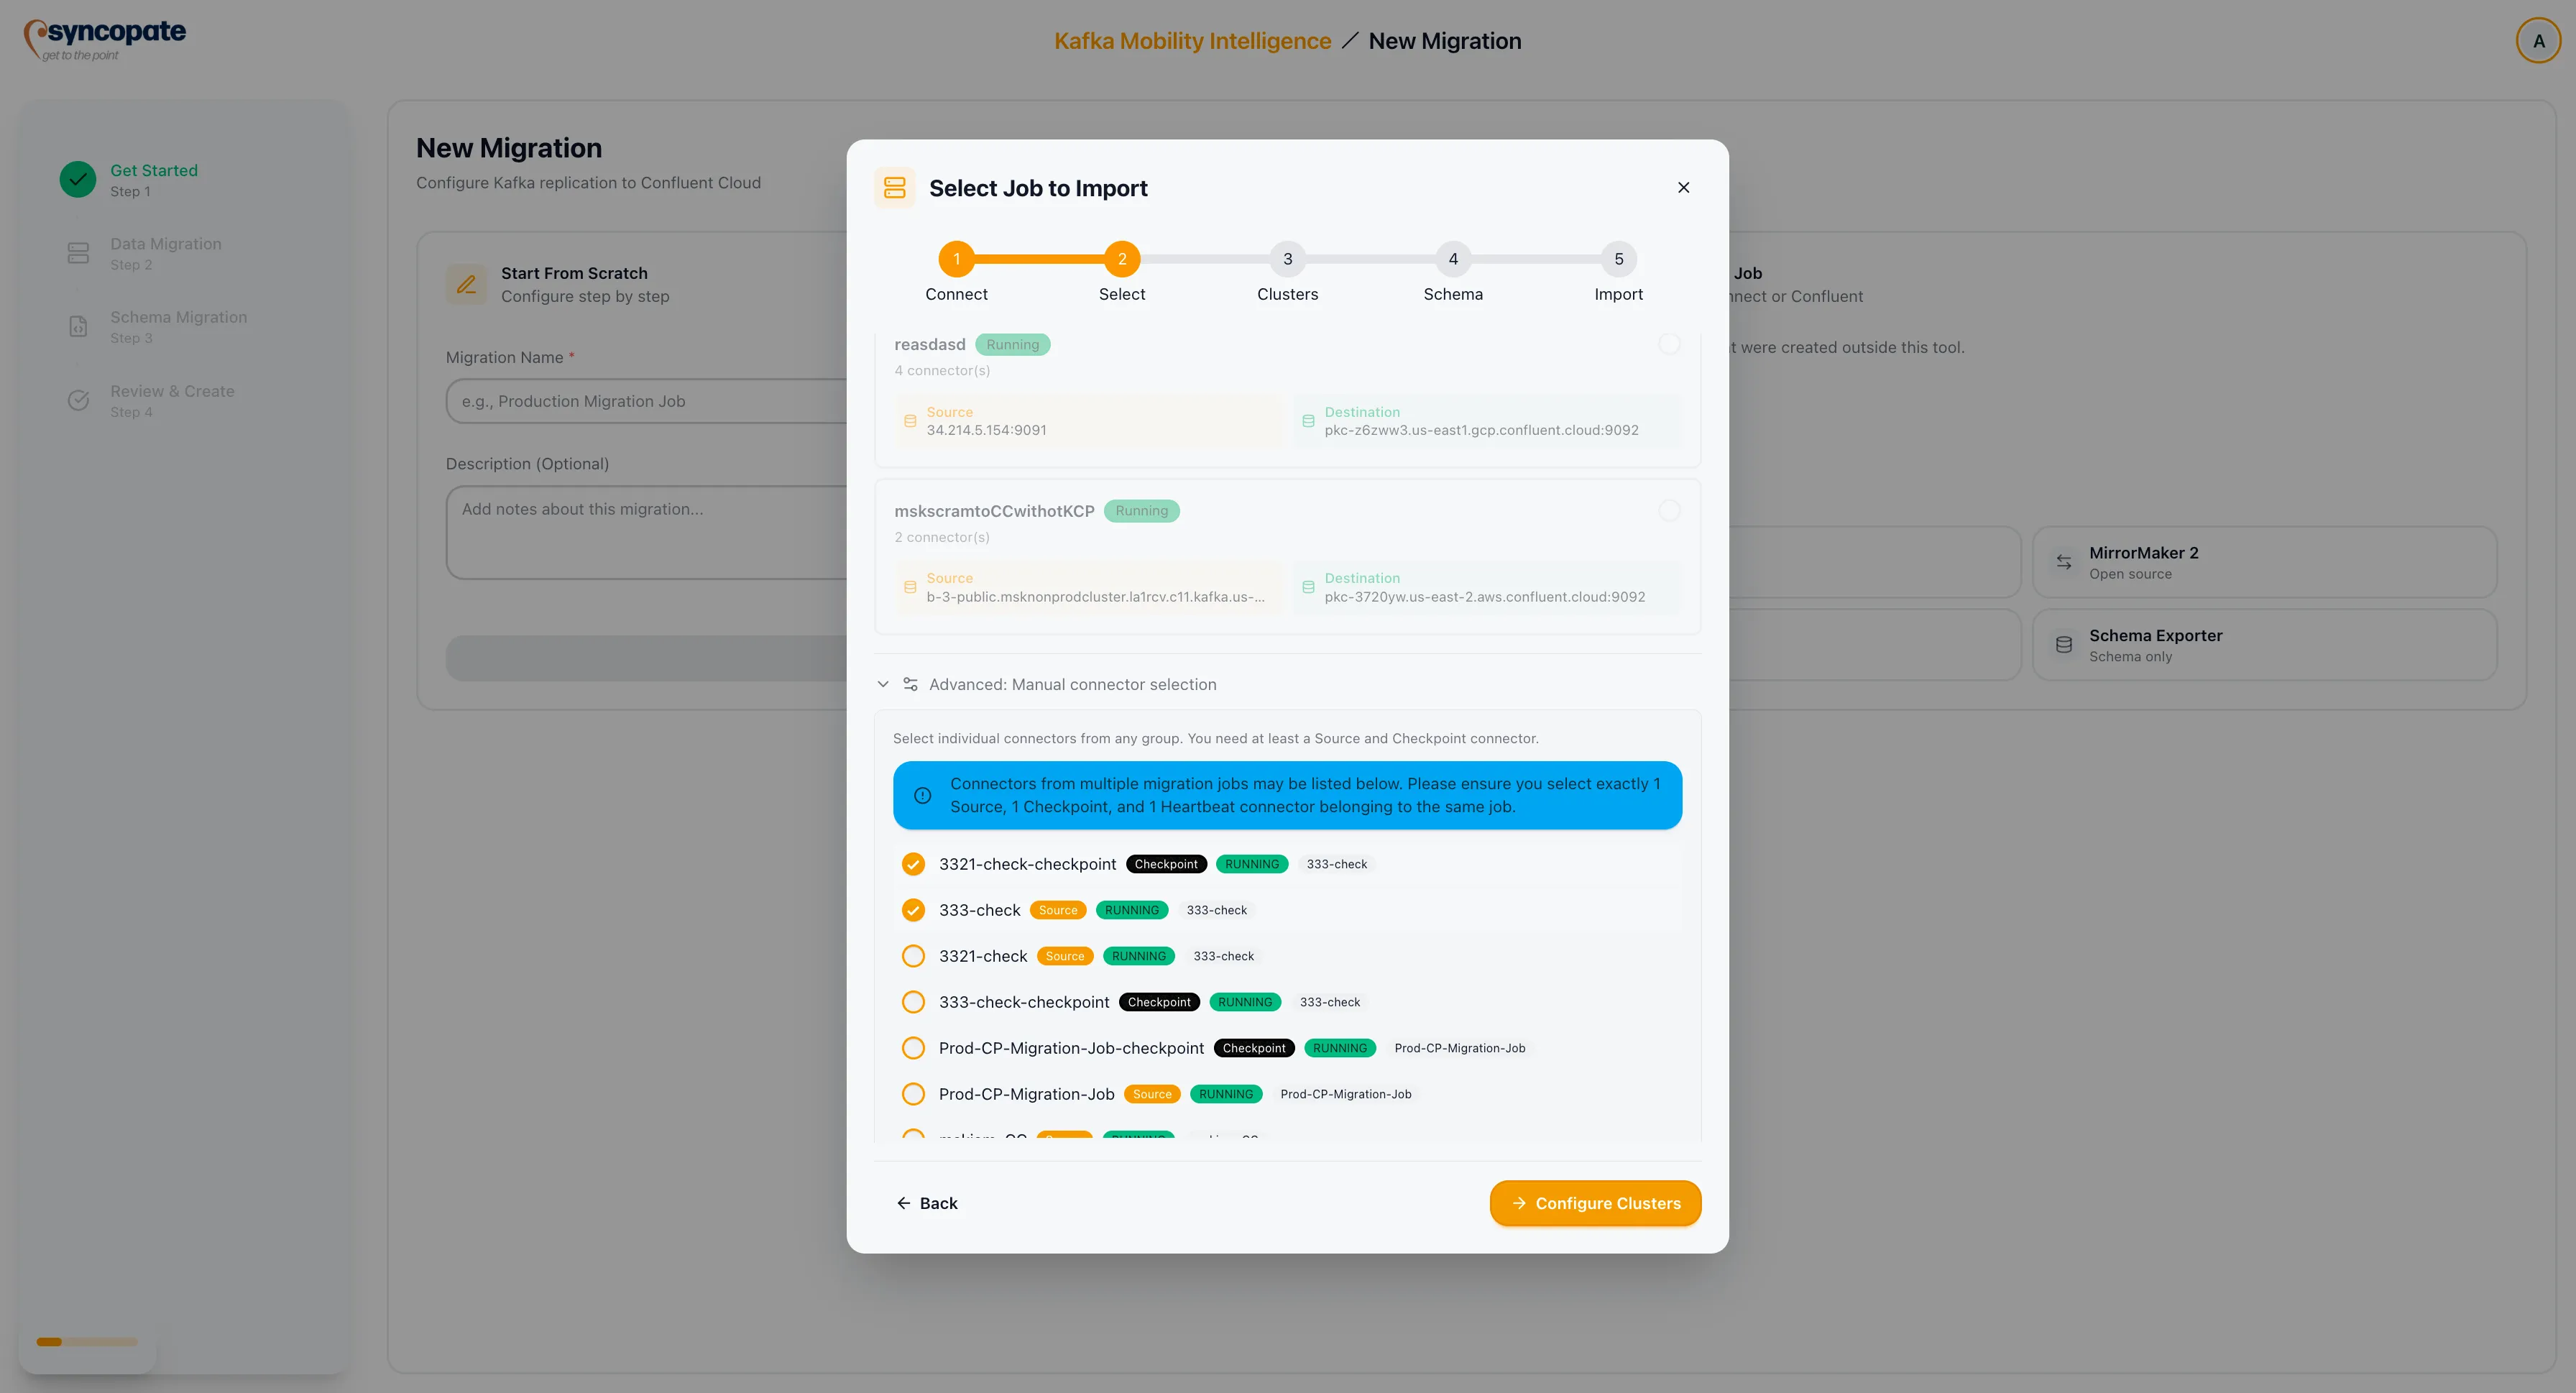
Select the connector group you want to import and click Next.
-
Optionally, override auto-grouping by manually selecting individual connectors to form a custom group.
-
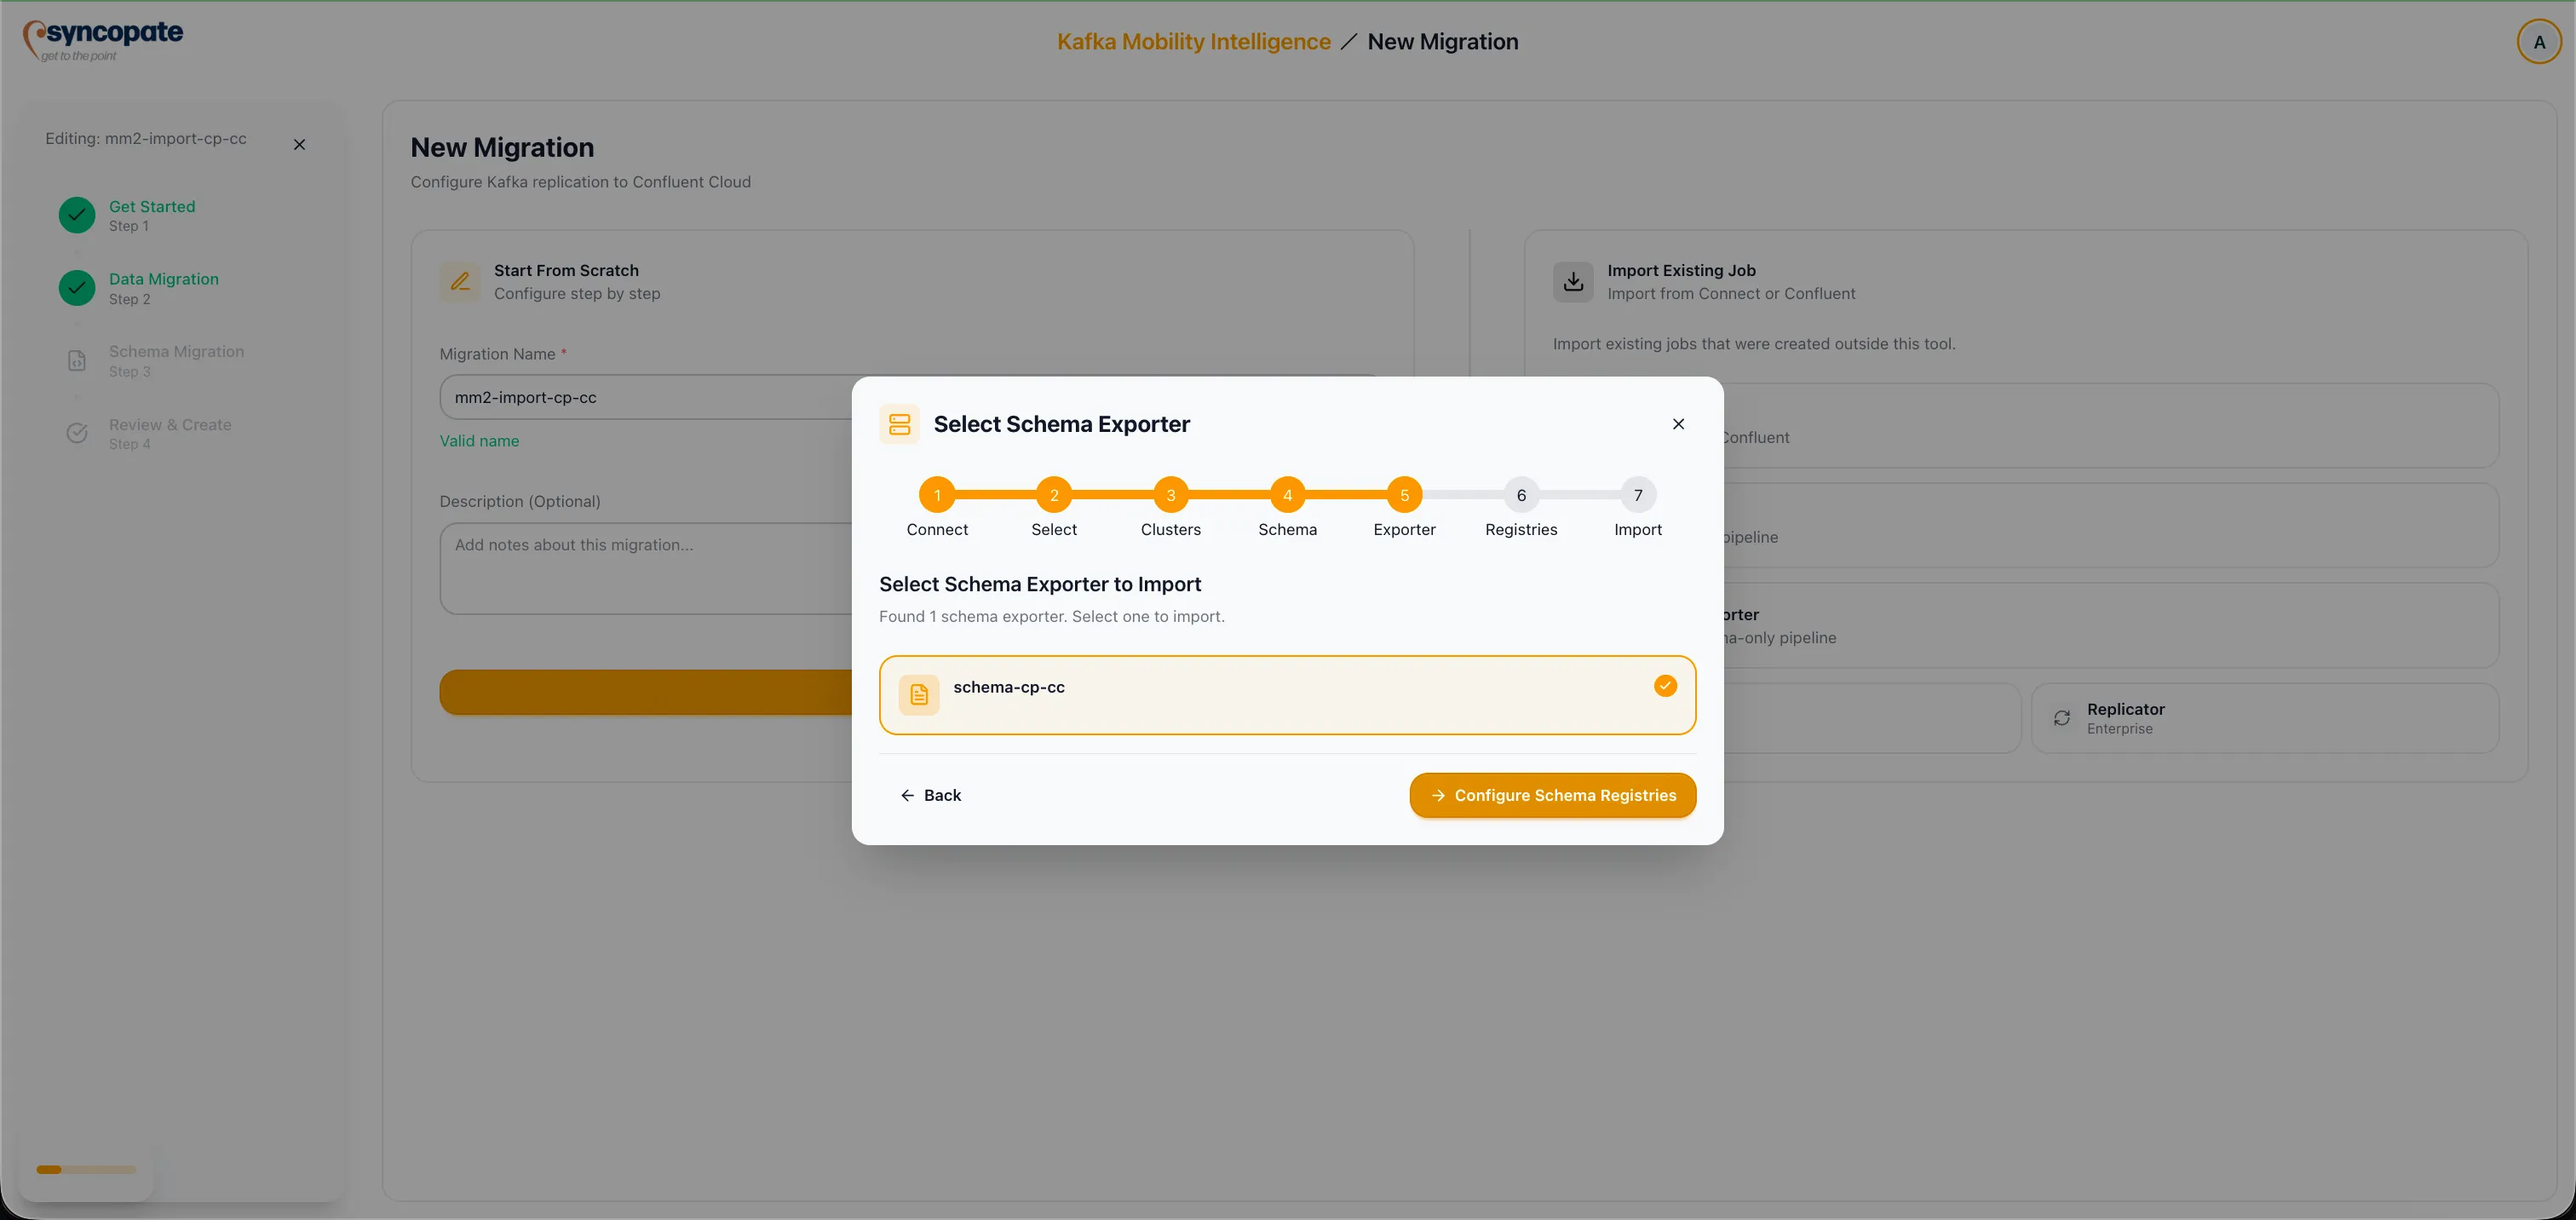
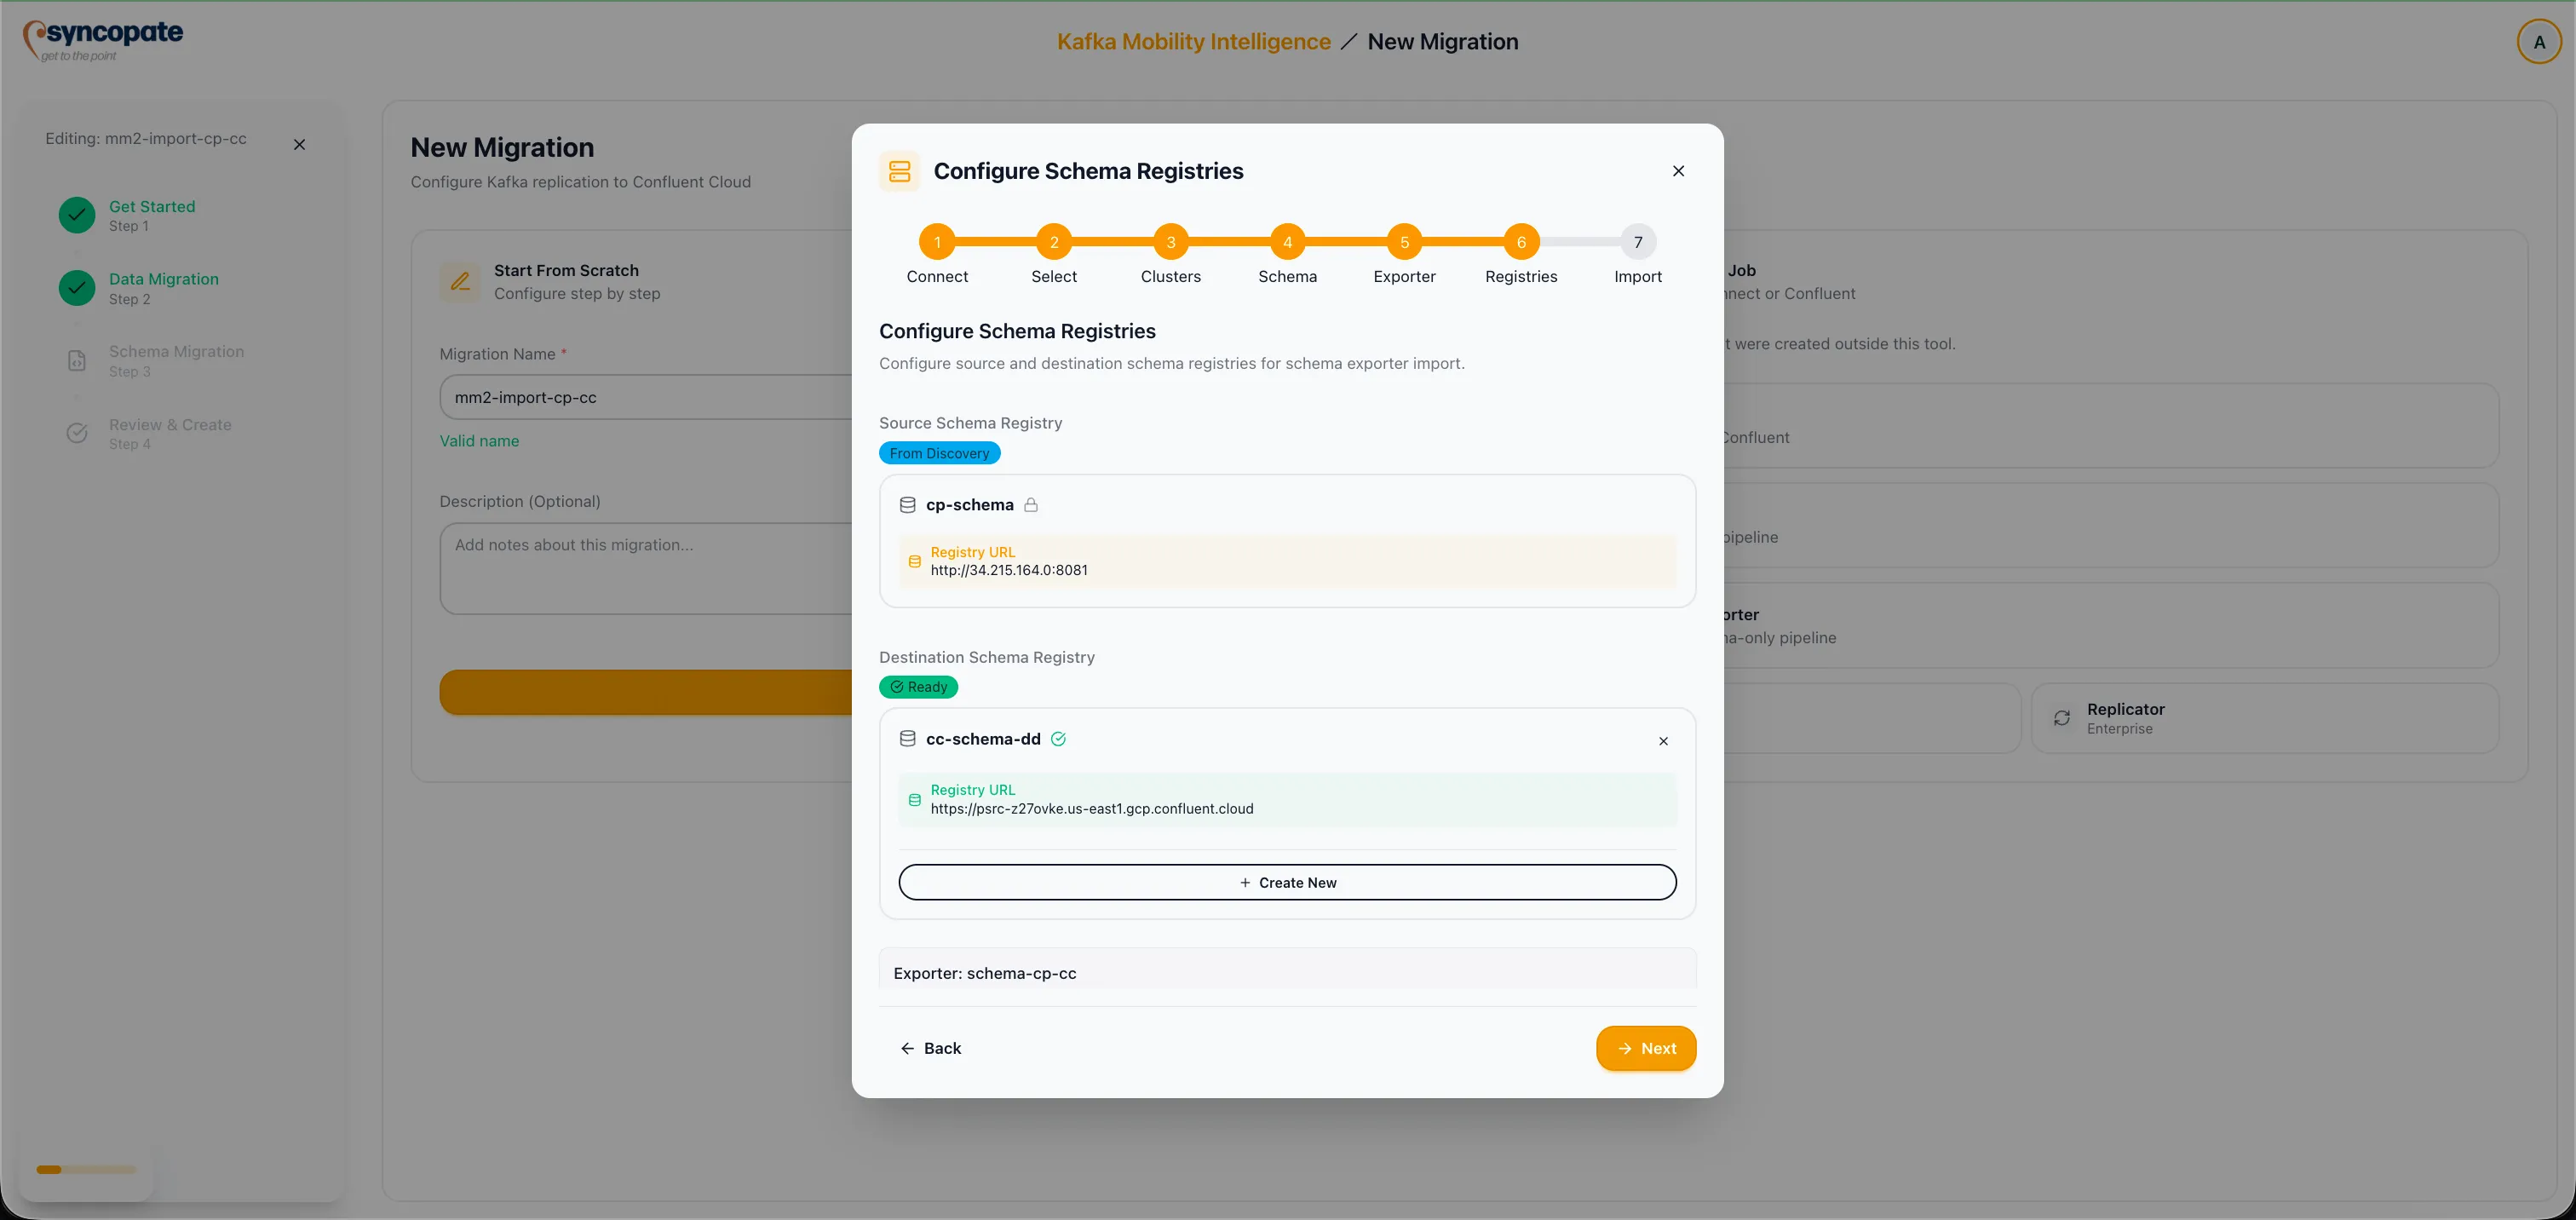
Optionally, import an existing Schema Exporter. Click the Discover Exporters button to list active exporters, select the appropriate exporter, and verify the source and destination schema registries.

-
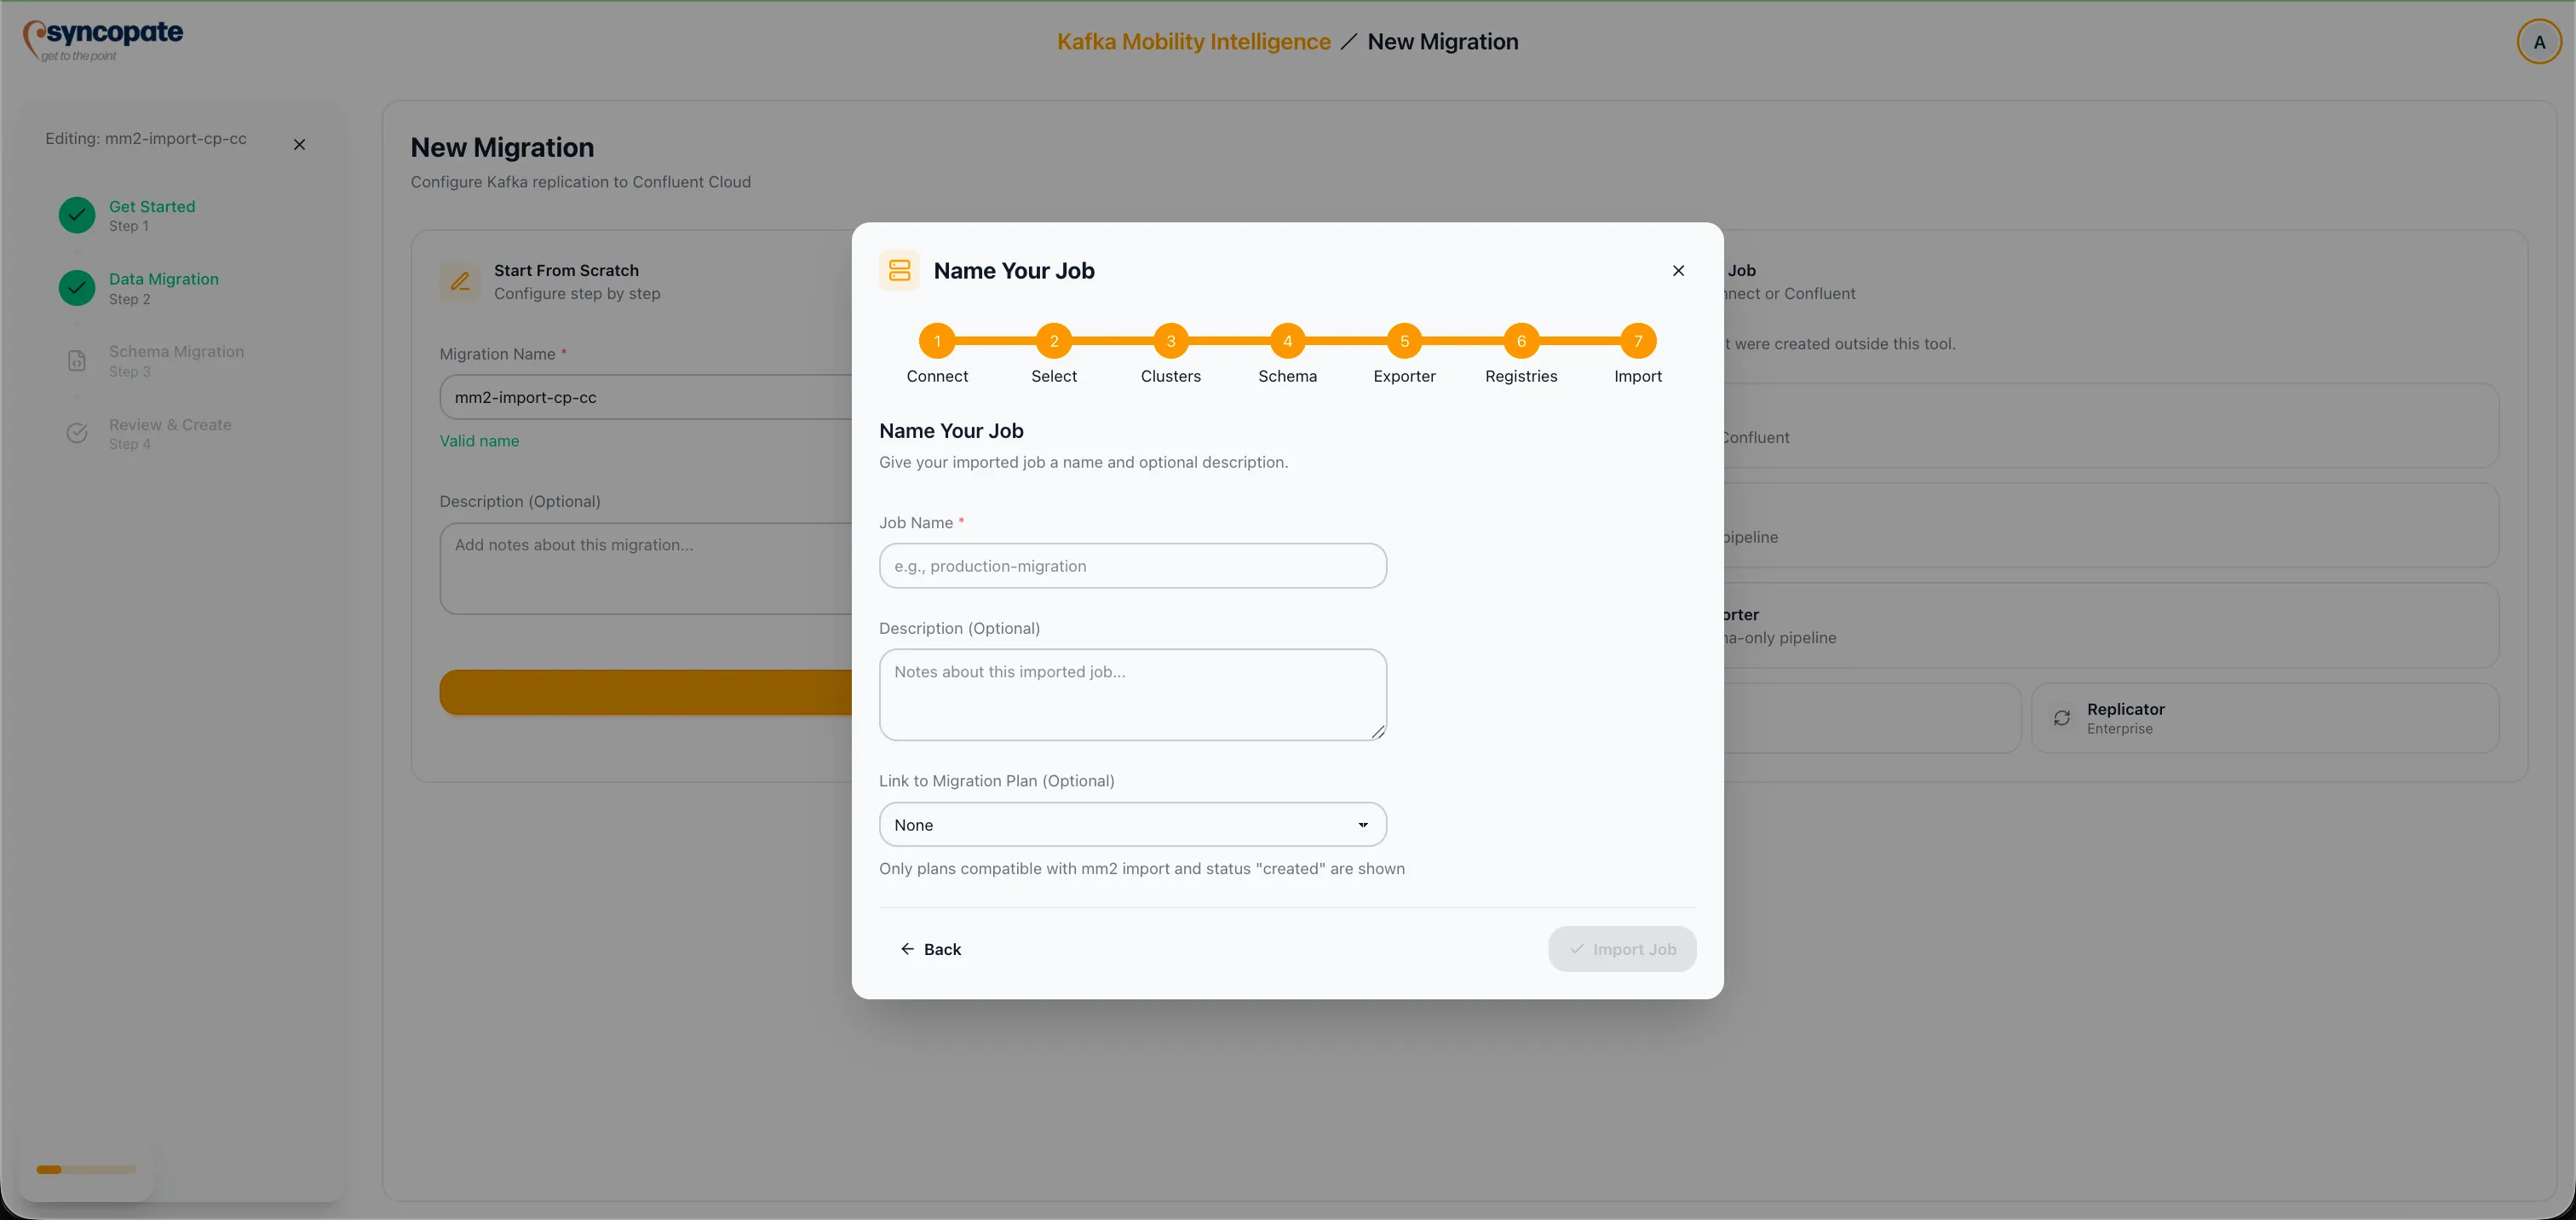
Enter a Job Name for the imported migration. Optionally select a Migration Plan to associate with the job.
-
Click Import and Start Monitoring to finalize the import.
-
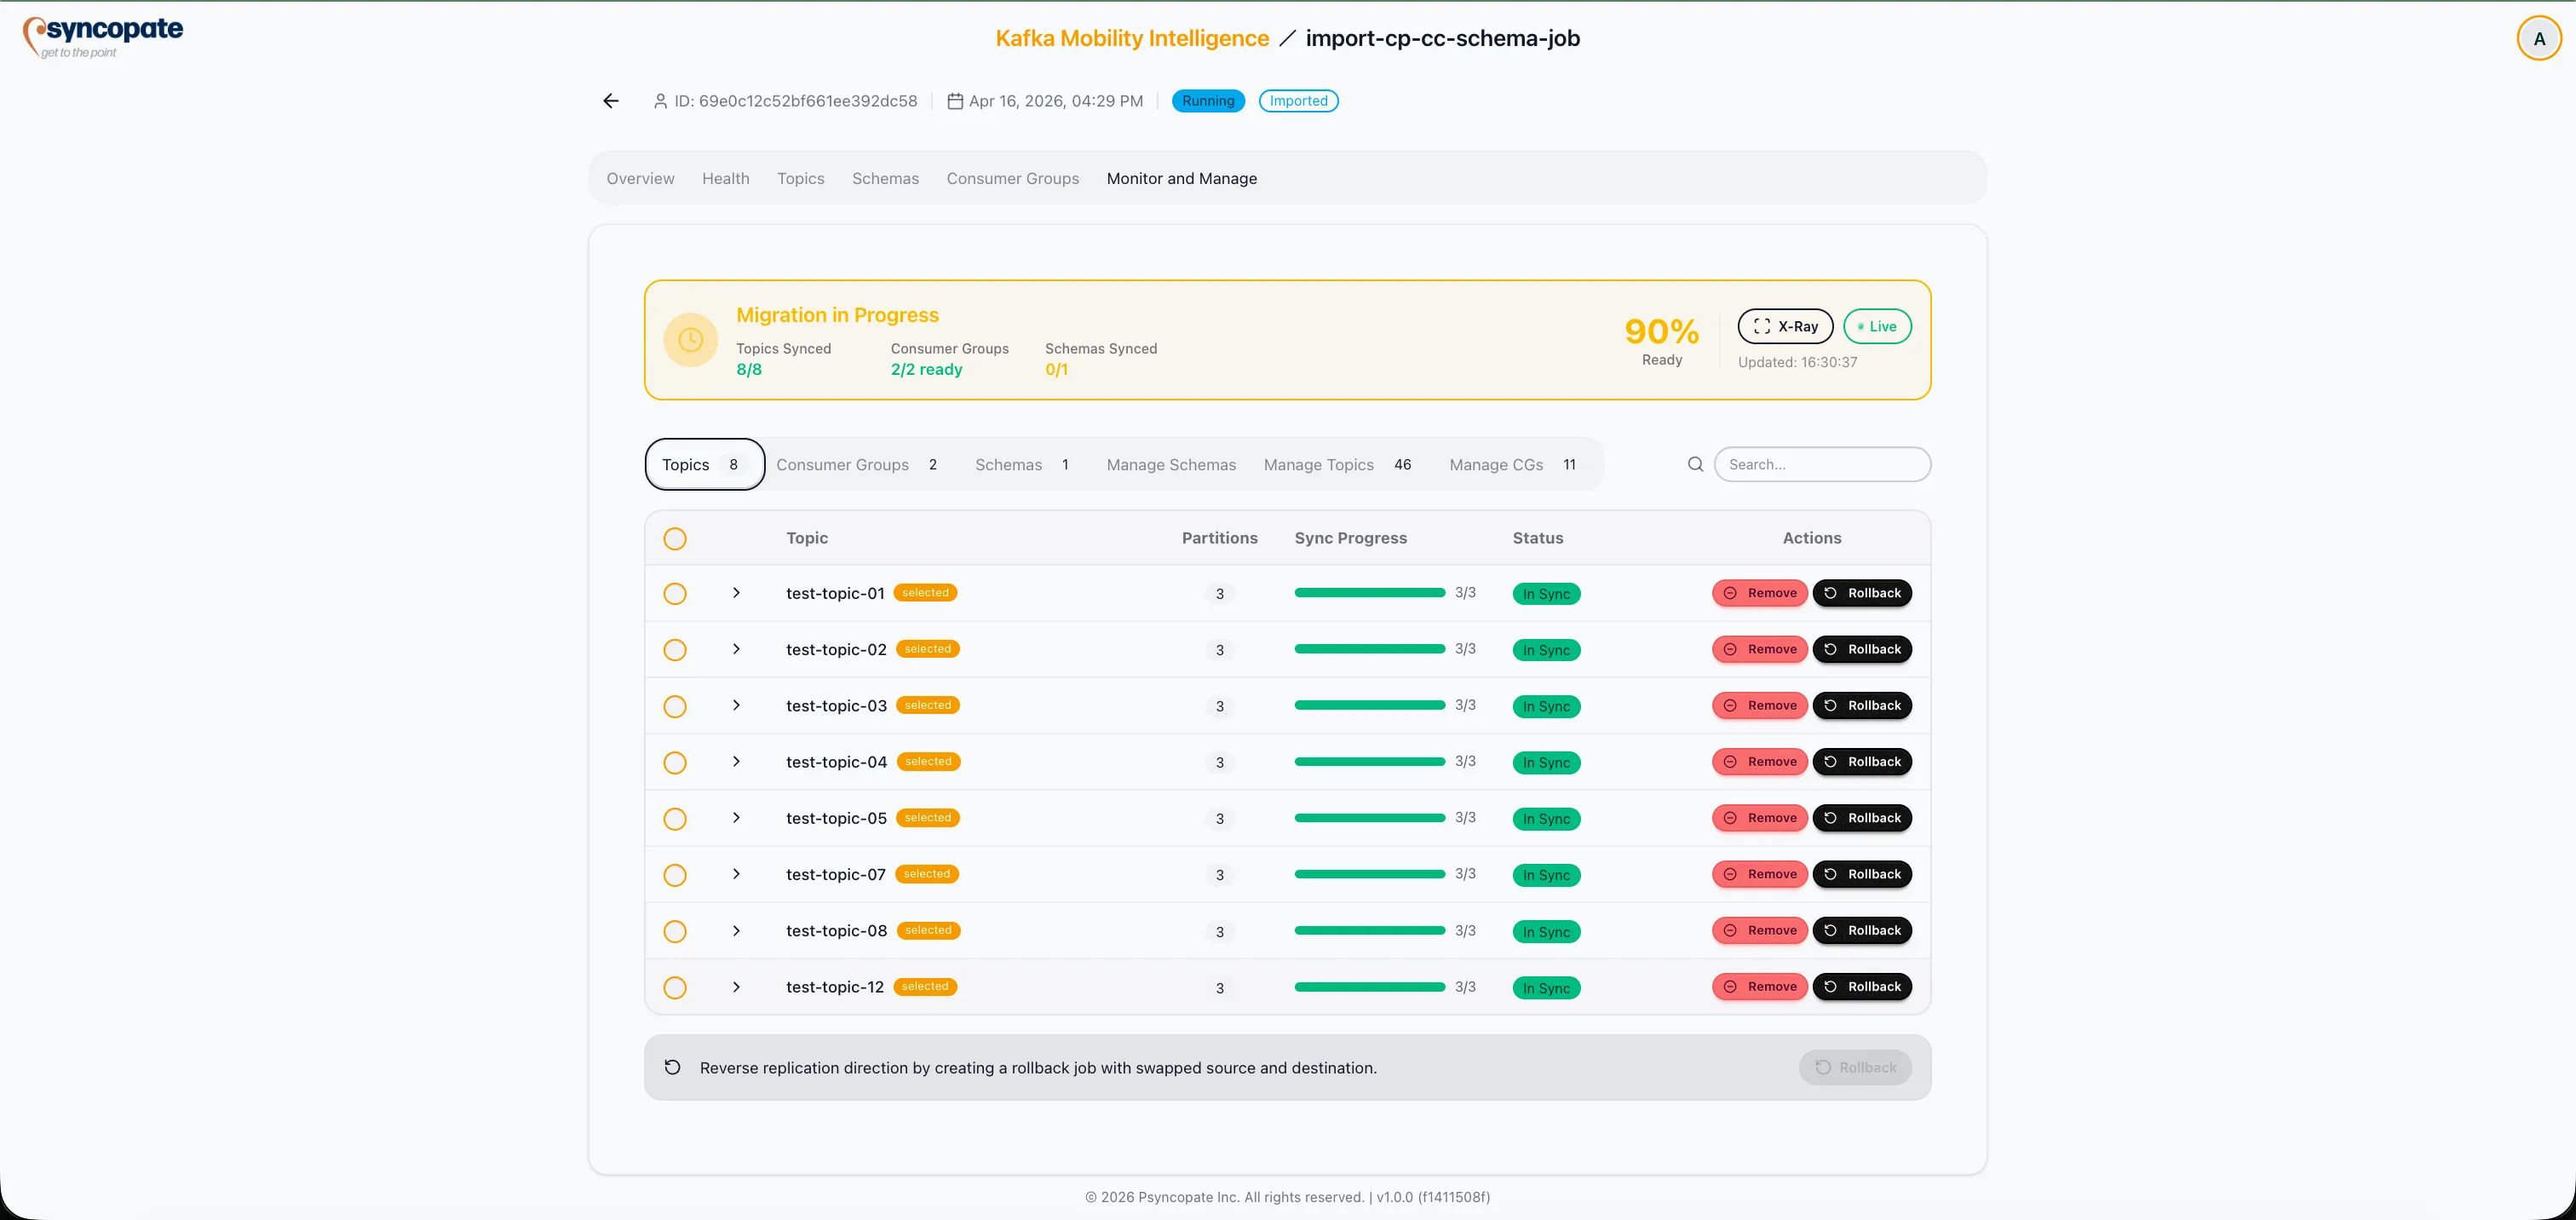
The job begins running and appears on the Dashboard. Navigate to the Monitor tab to track replication progress.
Auto-Grouping Logic
Section titled “Auto-Grouping Logic”The suite identifies connector groups by extracting the shared prefix from connector names. For example, connectors named us-east-MirrorSourceConnector, us-east-MirrorCheckpointConnector, and us-east-MirrorHeartbeatConnector are grouped under the prefix us-east.
If the automatic grouping does not match your deployment, use the manual selection option in Step 10 to define custom groups.