Creating a New Job
Migration jobs are created from the Dashboard. The suite provides two entry points: a quick-action dropdown for common cluster operations and a full wizard for building a job from scratch.
Quick-Action Dropdown
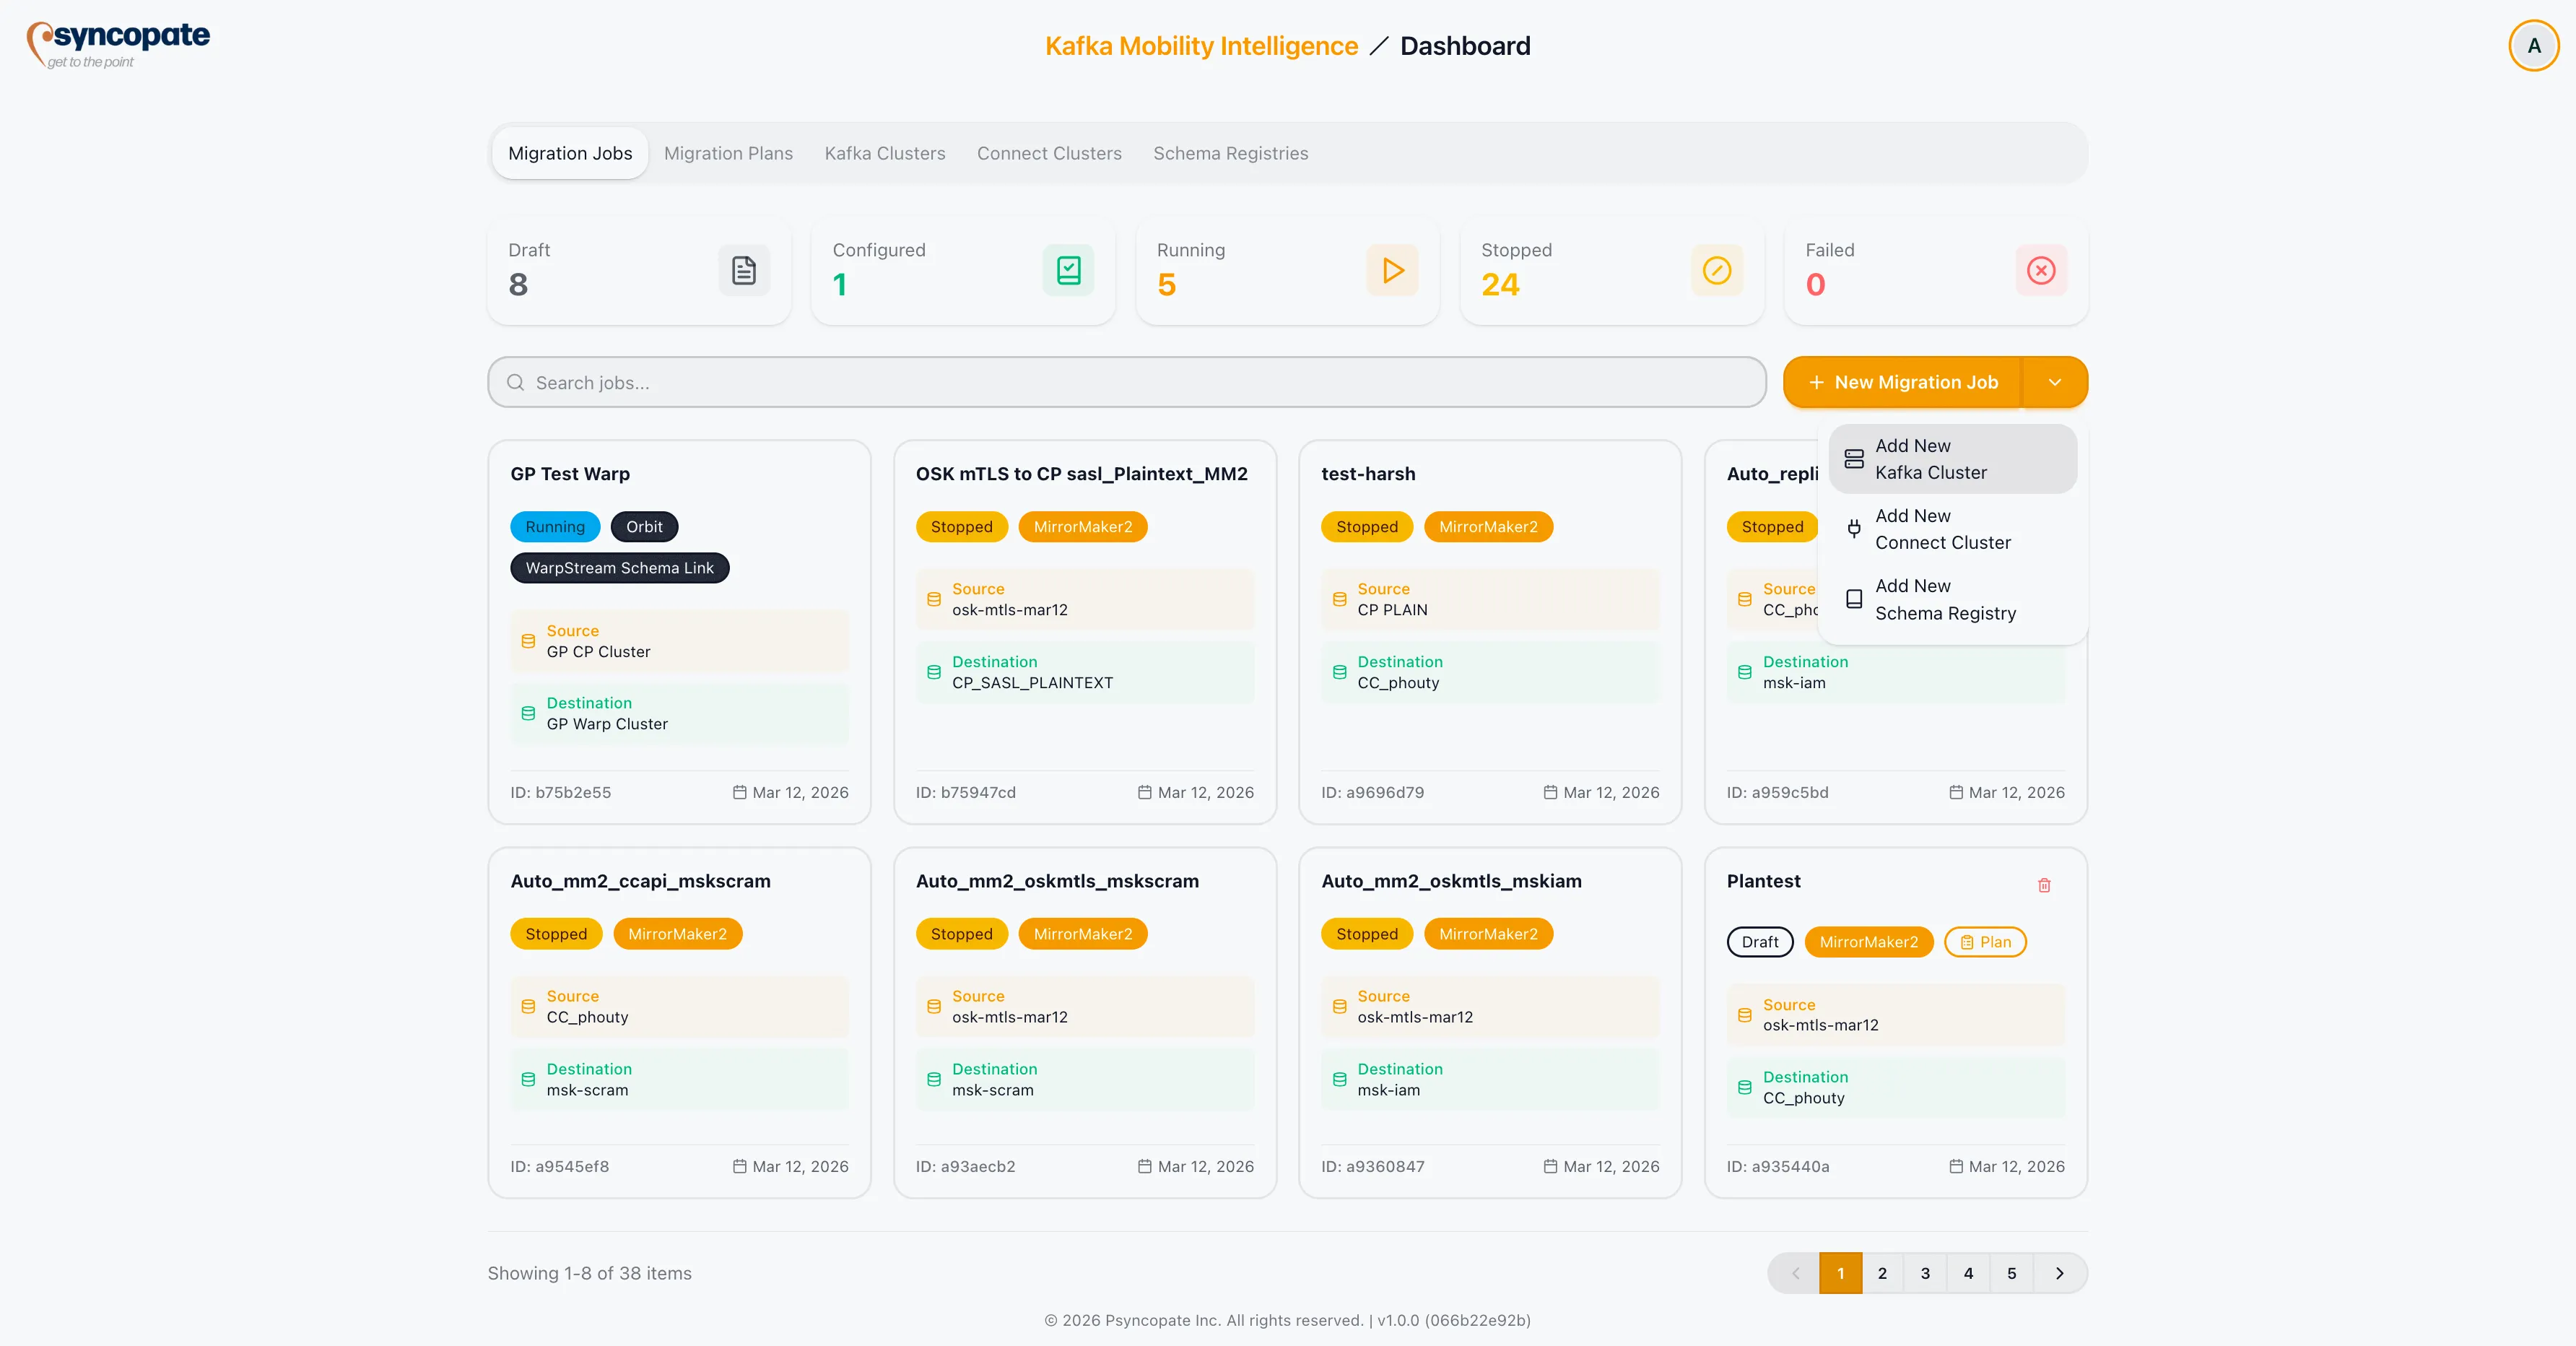
Section titled “Quick-Action Dropdown”Click the + New Migration Job button on the Dashboard to reveal a dropdown with the following options:
| Option | Description |
|---|---|
| Add New Kafka Cluster | Opens the Kafka Cluster registration form directly. |
| Add New Connect Cluster | Opens the Connect Cluster registration form directly. |
| Add Schema Registry | Opens the Schema Registry registration form directly. |
These shortcuts allow you to register infrastructure without leaving the Dashboard. Once the required clusters are in place, return to the dropdown and select New Migration Job to proceed.
Start From Scratch Wizard
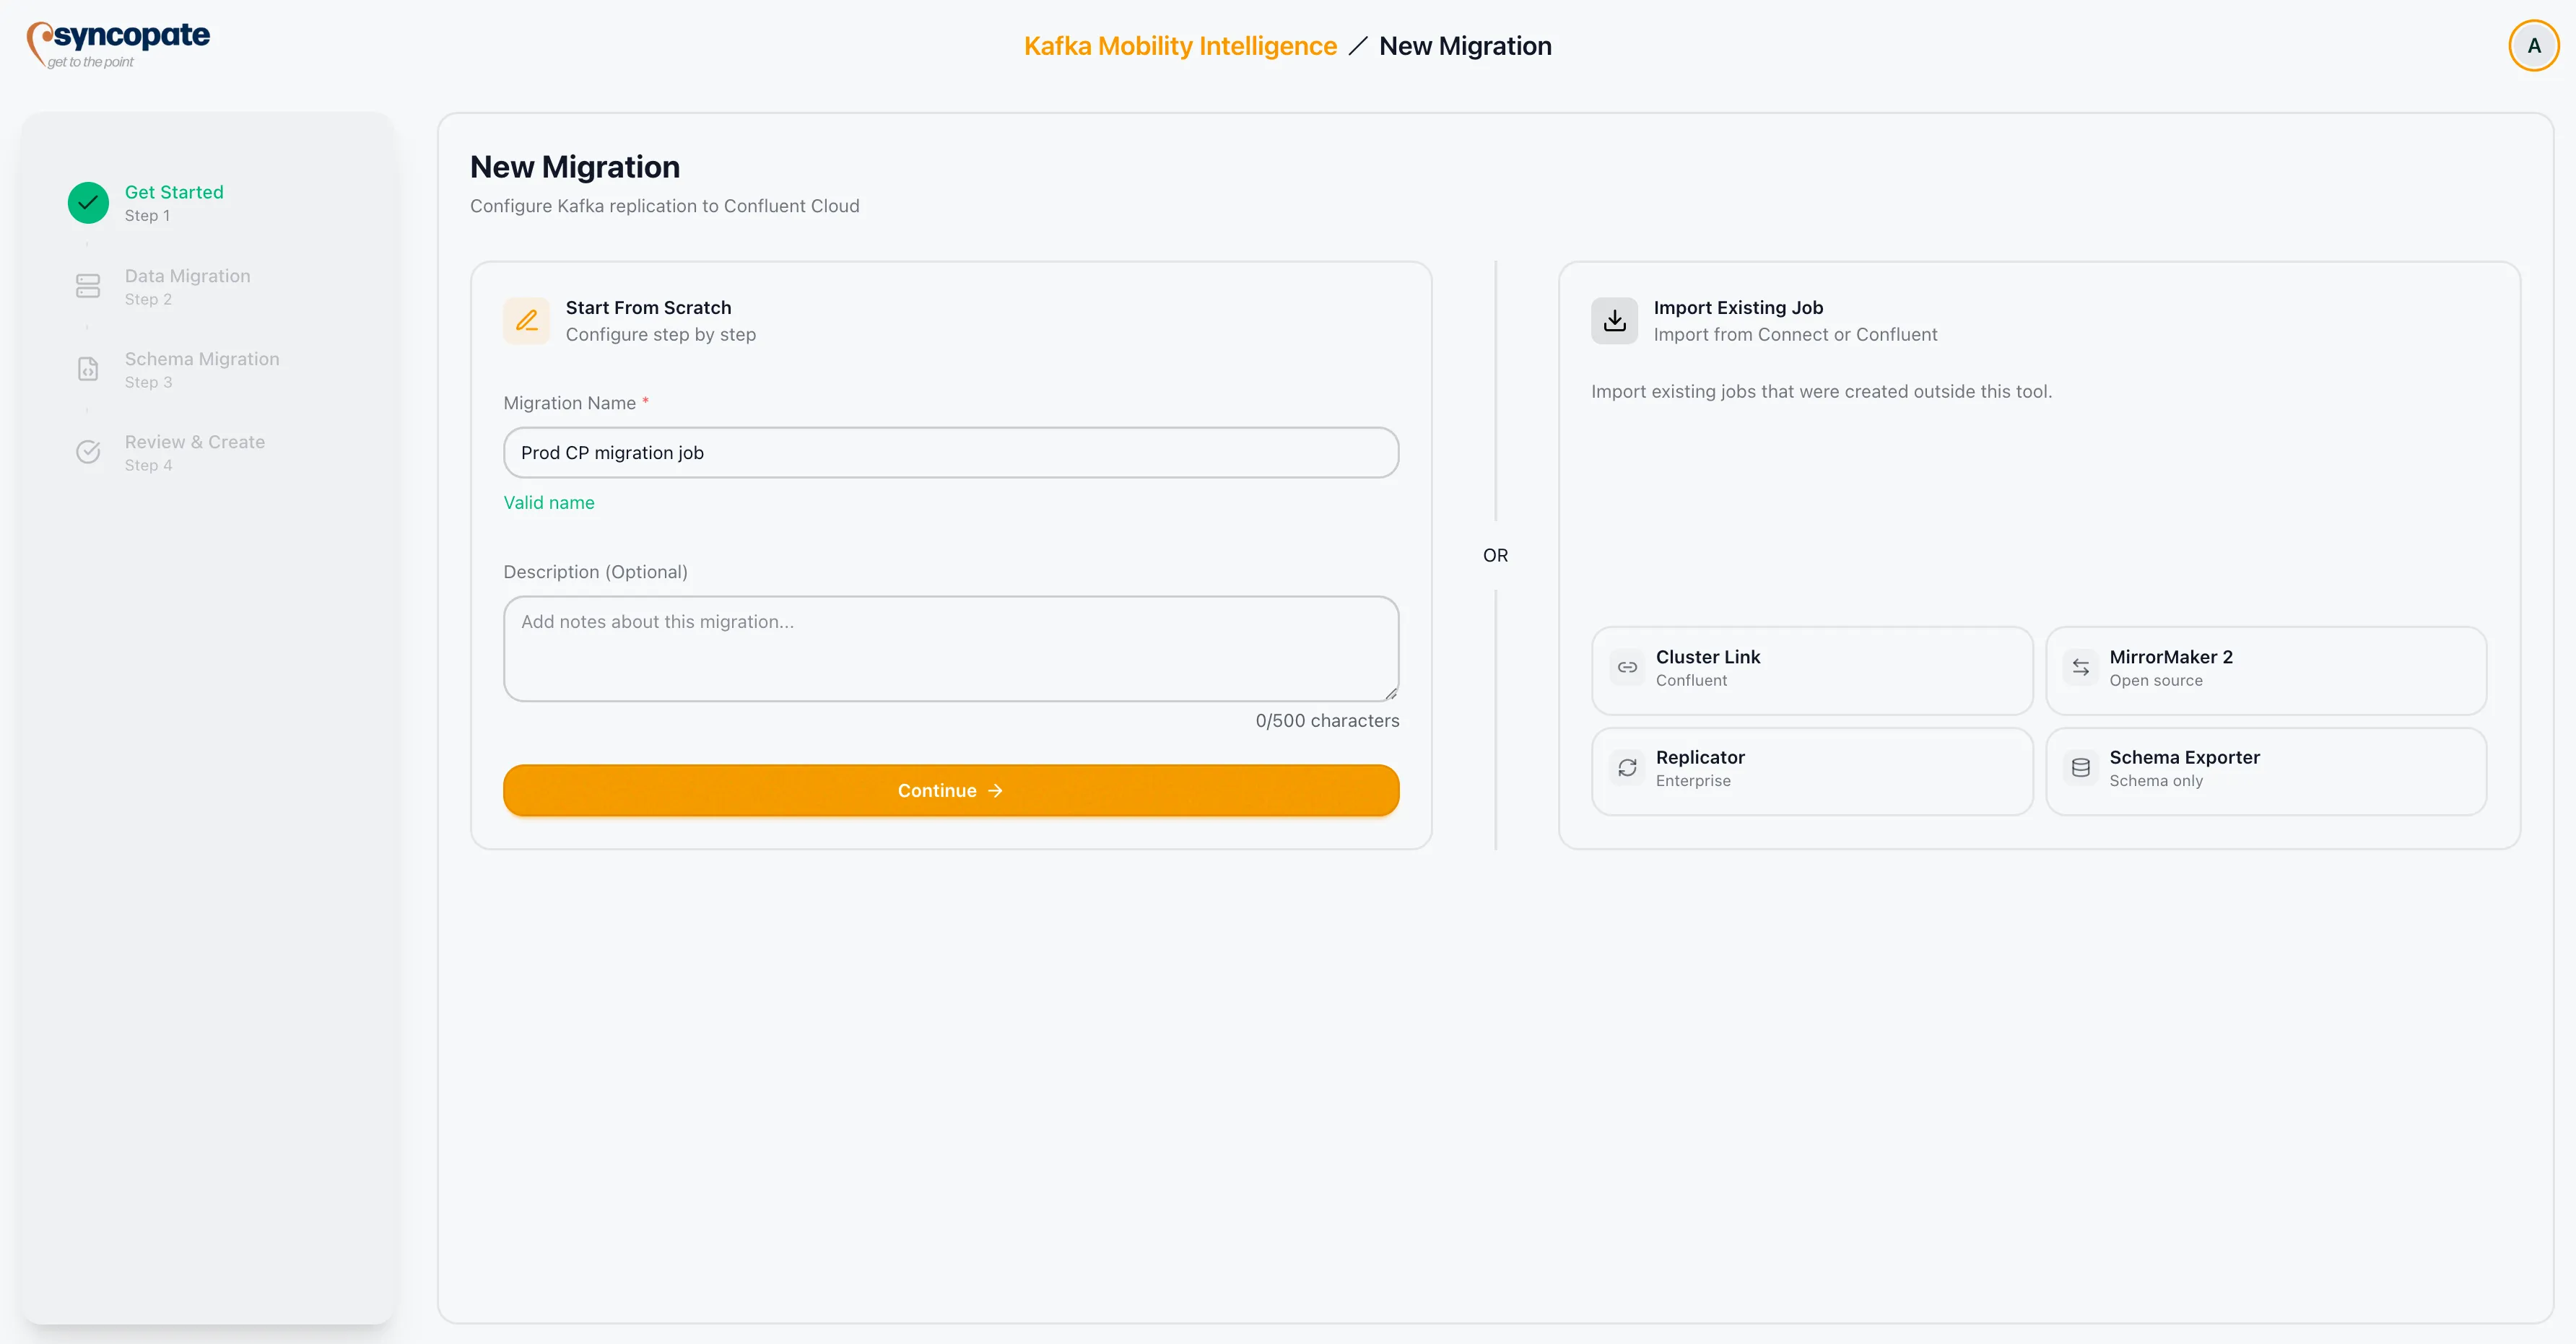
Section titled “Start From Scratch Wizard”Selecting New Migration Job from the dropdown opens the Get Started wizard. A left panel displays the workflow progress, showing each step in the job creation pipeline and highlighting the current step.
Migration Identity
Section titled “Migration Identity”-
Enter a Migration Name in the text field. This field is required, accepts up to 50 characters, and allows spaces.
-
Optionally enter a Description to provide context about the migration’s purpose or scope.
-
Click Continue to proceed to the Cluster Setup step.
| Field | Required | Constraints |
|---|---|---|
| Migration Name | Yes | Maximum 50 characters, spaces allowed |
| Description | No | Free-text field for additional context |